Posts: 1,204
Threads: 195
Joined: Jul 2013
Reputation:
6
Location: Wolverhampton
Car Model/Spec: 2000 Xs 1.8 16v
Thanks: 0
Given 0 thank(s) in 0 post(s)
12-07-2013, 08:47 AM
(This post was last modified: 12-07-2013, 08:50 AM by underground375.)
Posts: 8,019
Threads: 374
Joined: Dec 2011
Reputation:
38
Location: Isle of Wight
Car Model/Spec: GTI 6
Thanks: 8
Given 16 thank(s) in 14 post(s)
that 106! 
real tidy diablo also! nice 2 car setup there!
Posts: 1,204
Threads: 195
Joined: Jul 2013
Reputation:
6
Location: Wolverhampton
Car Model/Spec: 2000 Xs 1.8 16v
Thanks: 0
Given 0 thank(s) in 0 post(s)
That was my brothers old one. He stripped and rebuilt the hole thing. Just to sell it on 
Posts: 4,660
Threads: 343
Joined: Jul 2012
Reputation:
15
Location: Chesterfield
Car Model/Spec: 106 gti / 306 hdi estate
Thanks: 4
Given 3 thank(s) in 3 post(s)
ooooo sundance 106 very nice....... 306 aint to bad either  
Posts: 1,204
Threads: 195
Joined: Jul 2013
Reputation:
6
Location: Wolverhampton
Car Model/Spec: 2000 Xs 1.8 16v
Thanks: 0
Given 0 thank(s) in 0 post(s)
Posts: 8,019
Threads: 374
Joined: Dec 2011
Reputation:
38
Location: Isle of Wight
Car Model/Spec: GTI 6
Thanks: 8
Given 16 thank(s) in 14 post(s)
So.. you painted the diablo, white?
Posts: 1,204
Threads: 195
Joined: Jul 2013
Reputation:
6
Location: Wolverhampton
Car Model/Spec: 2000 Xs 1.8 16v
Thanks: 0
Given 0 thank(s) in 0 post(s)
Its in primer atm, there's not many gloss colours to have, so white it was, as i've already had a black DT before 
Posts: 1,430
Threads: 132
Joined: Jan 2012
Reputation:
4
Location: Yorkshire
Car Model/Spec: 305 and 306 HDi's
Thanks: 1
Given 6 thank(s) in 6 post(s)
13-07-2013, 03:58 PM
(This post was last modified: 13-07-2013, 03:59 PM by Sambarker.)
What's a VRS rear beam?
Posts: 2,582
Threads: 77
Joined: Dec 2011
Reputation:
15
Location: Wiltshire
Car Model/Spec: oem+ phase 3 astor 6
Thanks: 0
Given 0 thank(s) in 0 post(s)
Probably a vts beam I guess
Posts: 1,204
Threads: 195
Joined: Jul 2013
Reputation:
6
Location: Wolverhampton
Car Model/Spec: 2000 Xs 1.8 16v
Thanks: 0
Given 0 thank(s) in 0 post(s)
13-07-2013, 07:03 PM
(This post was last modified: 13-07-2013, 07:04 PM by underground375.)
My cr*p spelling lol, meant to say VTS. 
Posts: 1,430
Threads: 132
Joined: Jan 2012
Reputation:
4
Location: Yorkshire
Car Model/Spec: 305 and 306 HDi's
Thanks: 1
Given 6 thank(s) in 6 post(s)
Lol thought you were fitting a skoda rear beam.
That would be a new one!
Posts: 1,204
Threads: 195
Joined: Jul 2013
Reputation:
6
Location: Wolverhampton
Car Model/Spec: 2000 Xs 1.8 16v
Thanks: 0
Given 0 thank(s) in 0 post(s)
Extreme modification!!! but pointless. Got a nice update to share tomo 
Posts: 1,204
Threads: 195
Joined: Jul 2013
Reputation:
6
Location: Wolverhampton
Car Model/Spec: 2000 Xs 1.8 16v
Thanks: 0
Given 0 thank(s) in 0 post(s)
13-07-2013, 09:59 PM
(This post was last modified: 13-07-2013, 10:17 PM by underground375.)
Posts: 4,926
Threads: 266
Joined: Dec 2011
Reputation:
18
Location: Somerset
Car Model/Spec: 205 DTurbo
Thanks: 73
Given 7 thank(s) in 7 post(s)
Like it! 
Posts: 14,208
Threads: 448
Joined: Dec 2011
Reputation:
51
Location: isle of wight
Car Model/Spec: Pov. Spec White '6
Thanks: 17
Given 18 thank(s) in 18 post(s)
(13-07-2013, 09:09 PM)underground375 Wrote: Extreme modification!!! but pointless. Got a nice update to share tomo 
Urm? Where is it then? 
![[Image: 20A1806D-891D-40FB-BD52-AD519177A607-734...391753.jpg]](http://i35.photobucket.com/albums/d196/mattbush/20A1806D-891D-40FB-BD52-AD519177A607-7340-0000058F46391753.jpg) TEAM CONROD SHITTING RALLYE!
TEAM CONROD SHITTING RALLYE!
Posts: 1,204
Threads: 195
Joined: Jul 2013
Reputation:
6
Location: Wolverhampton
Car Model/Spec: 2000 Xs 1.8 16v
Thanks: 0
Given 0 thank(s) in 0 post(s)
18-07-2013, 06:43 PM
(This post was last modified: 18-07-2013, 06:44 PM by underground375.)
Sorry all been on my holidays, not long got back, will update later or in the morning 
Posts: 1,204
Threads: 195
Joined: Jul 2013
Reputation:
6
Location: Wolverhampton
Car Model/Spec: 2000 Xs 1.8 16v
Thanks: 0
Given 0 thank(s) in 0 post(s)
18-07-2013, 10:48 PM
(This post was last modified: 18-07-2013, 10:53 PM by underground375.)
Few updates on the car 

None DT grill, I reckon its more stylish 
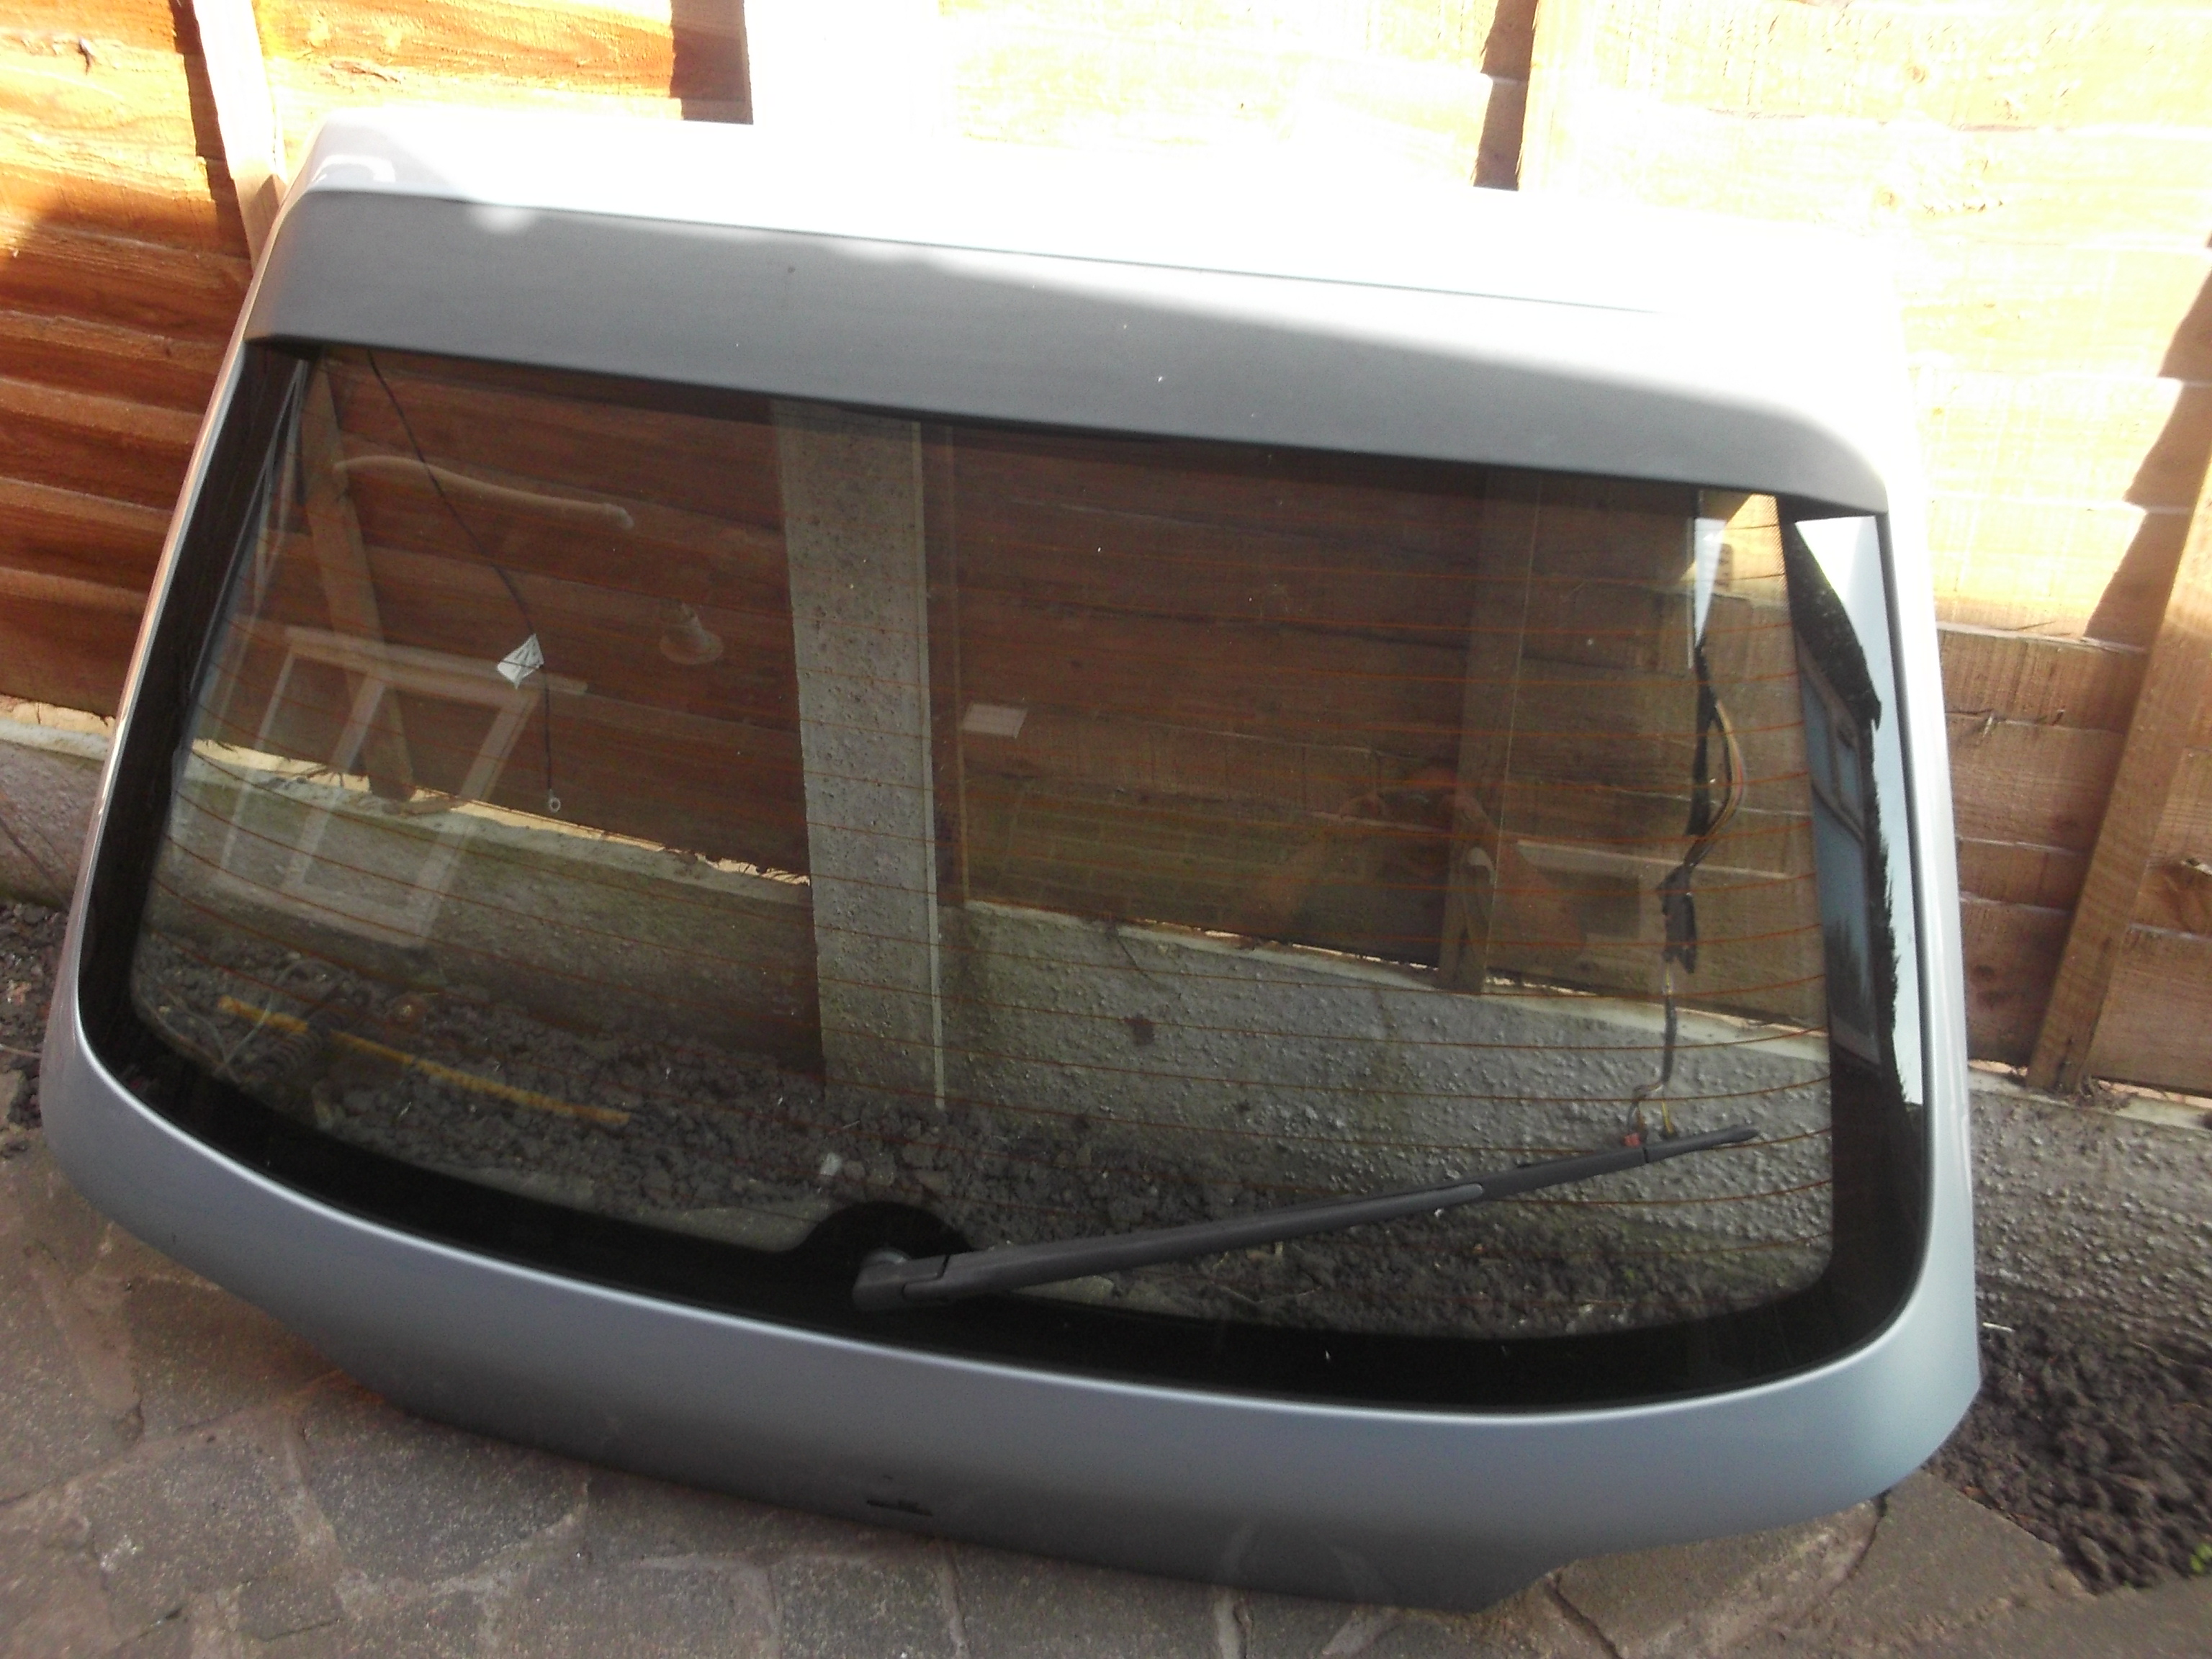
Ph3 tail gate ready to sand!
Got these the other day just need the seats now!!!
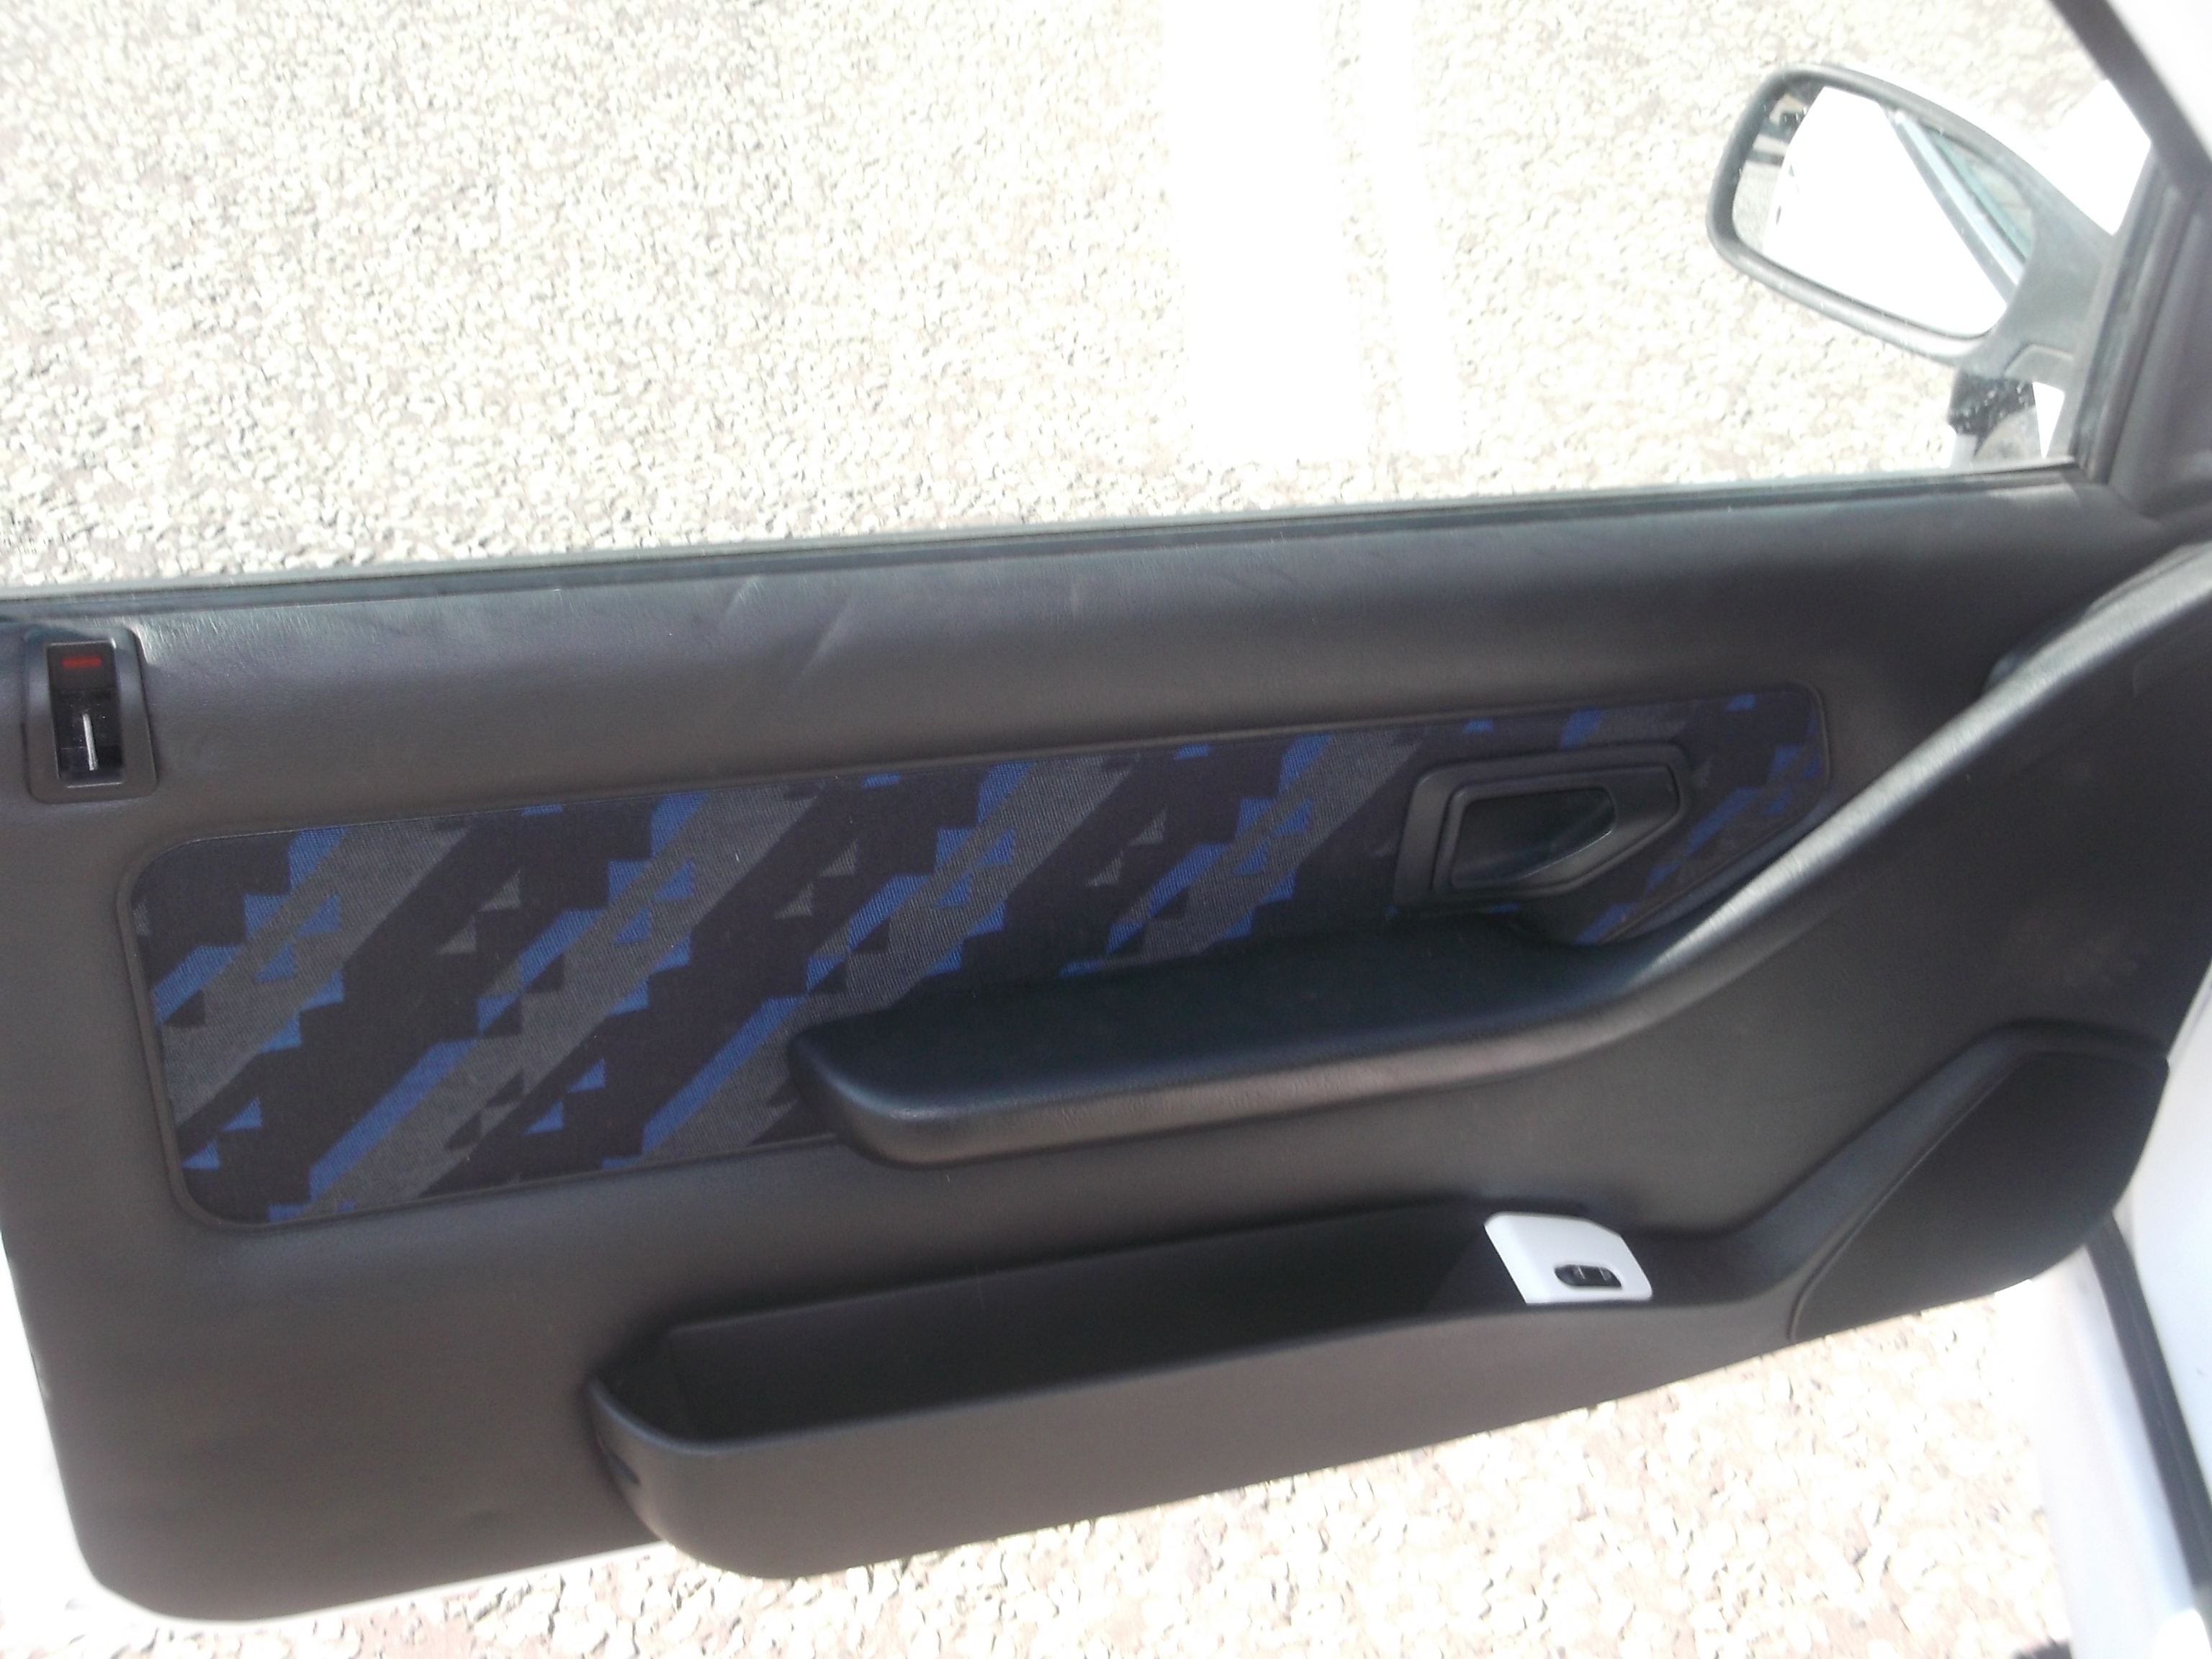
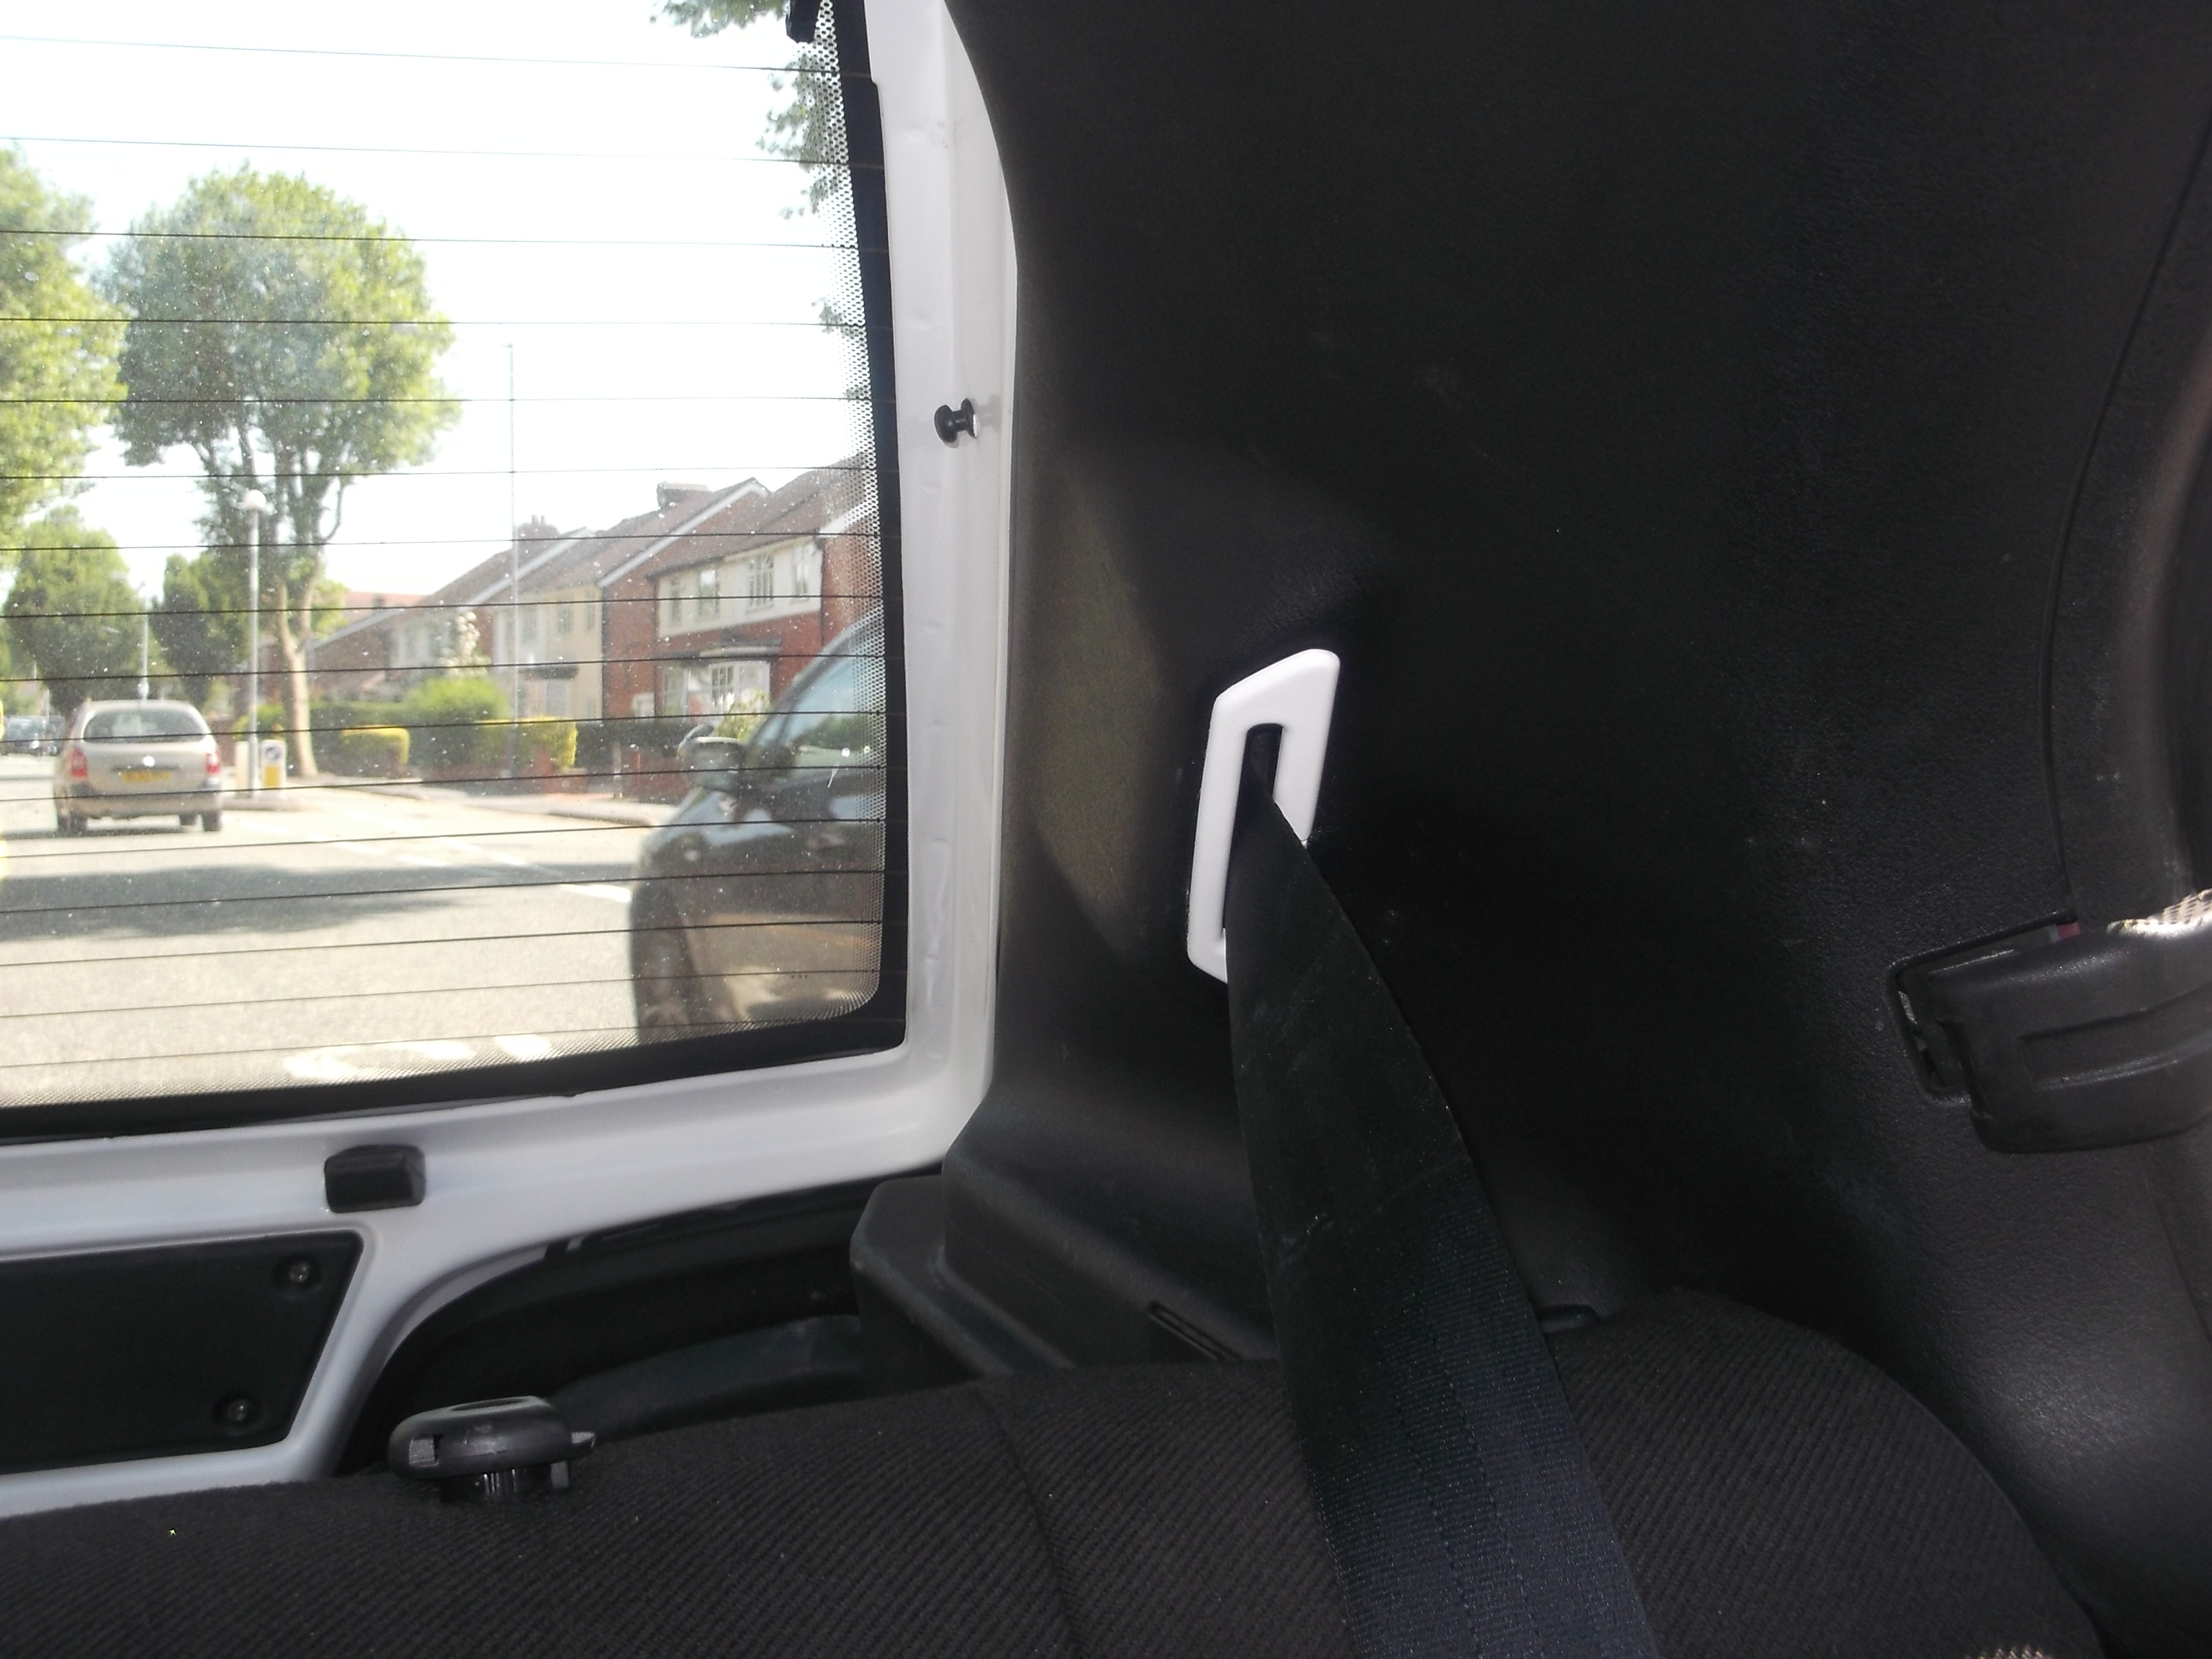
Got bored the other day so I ended up painting a few bits 

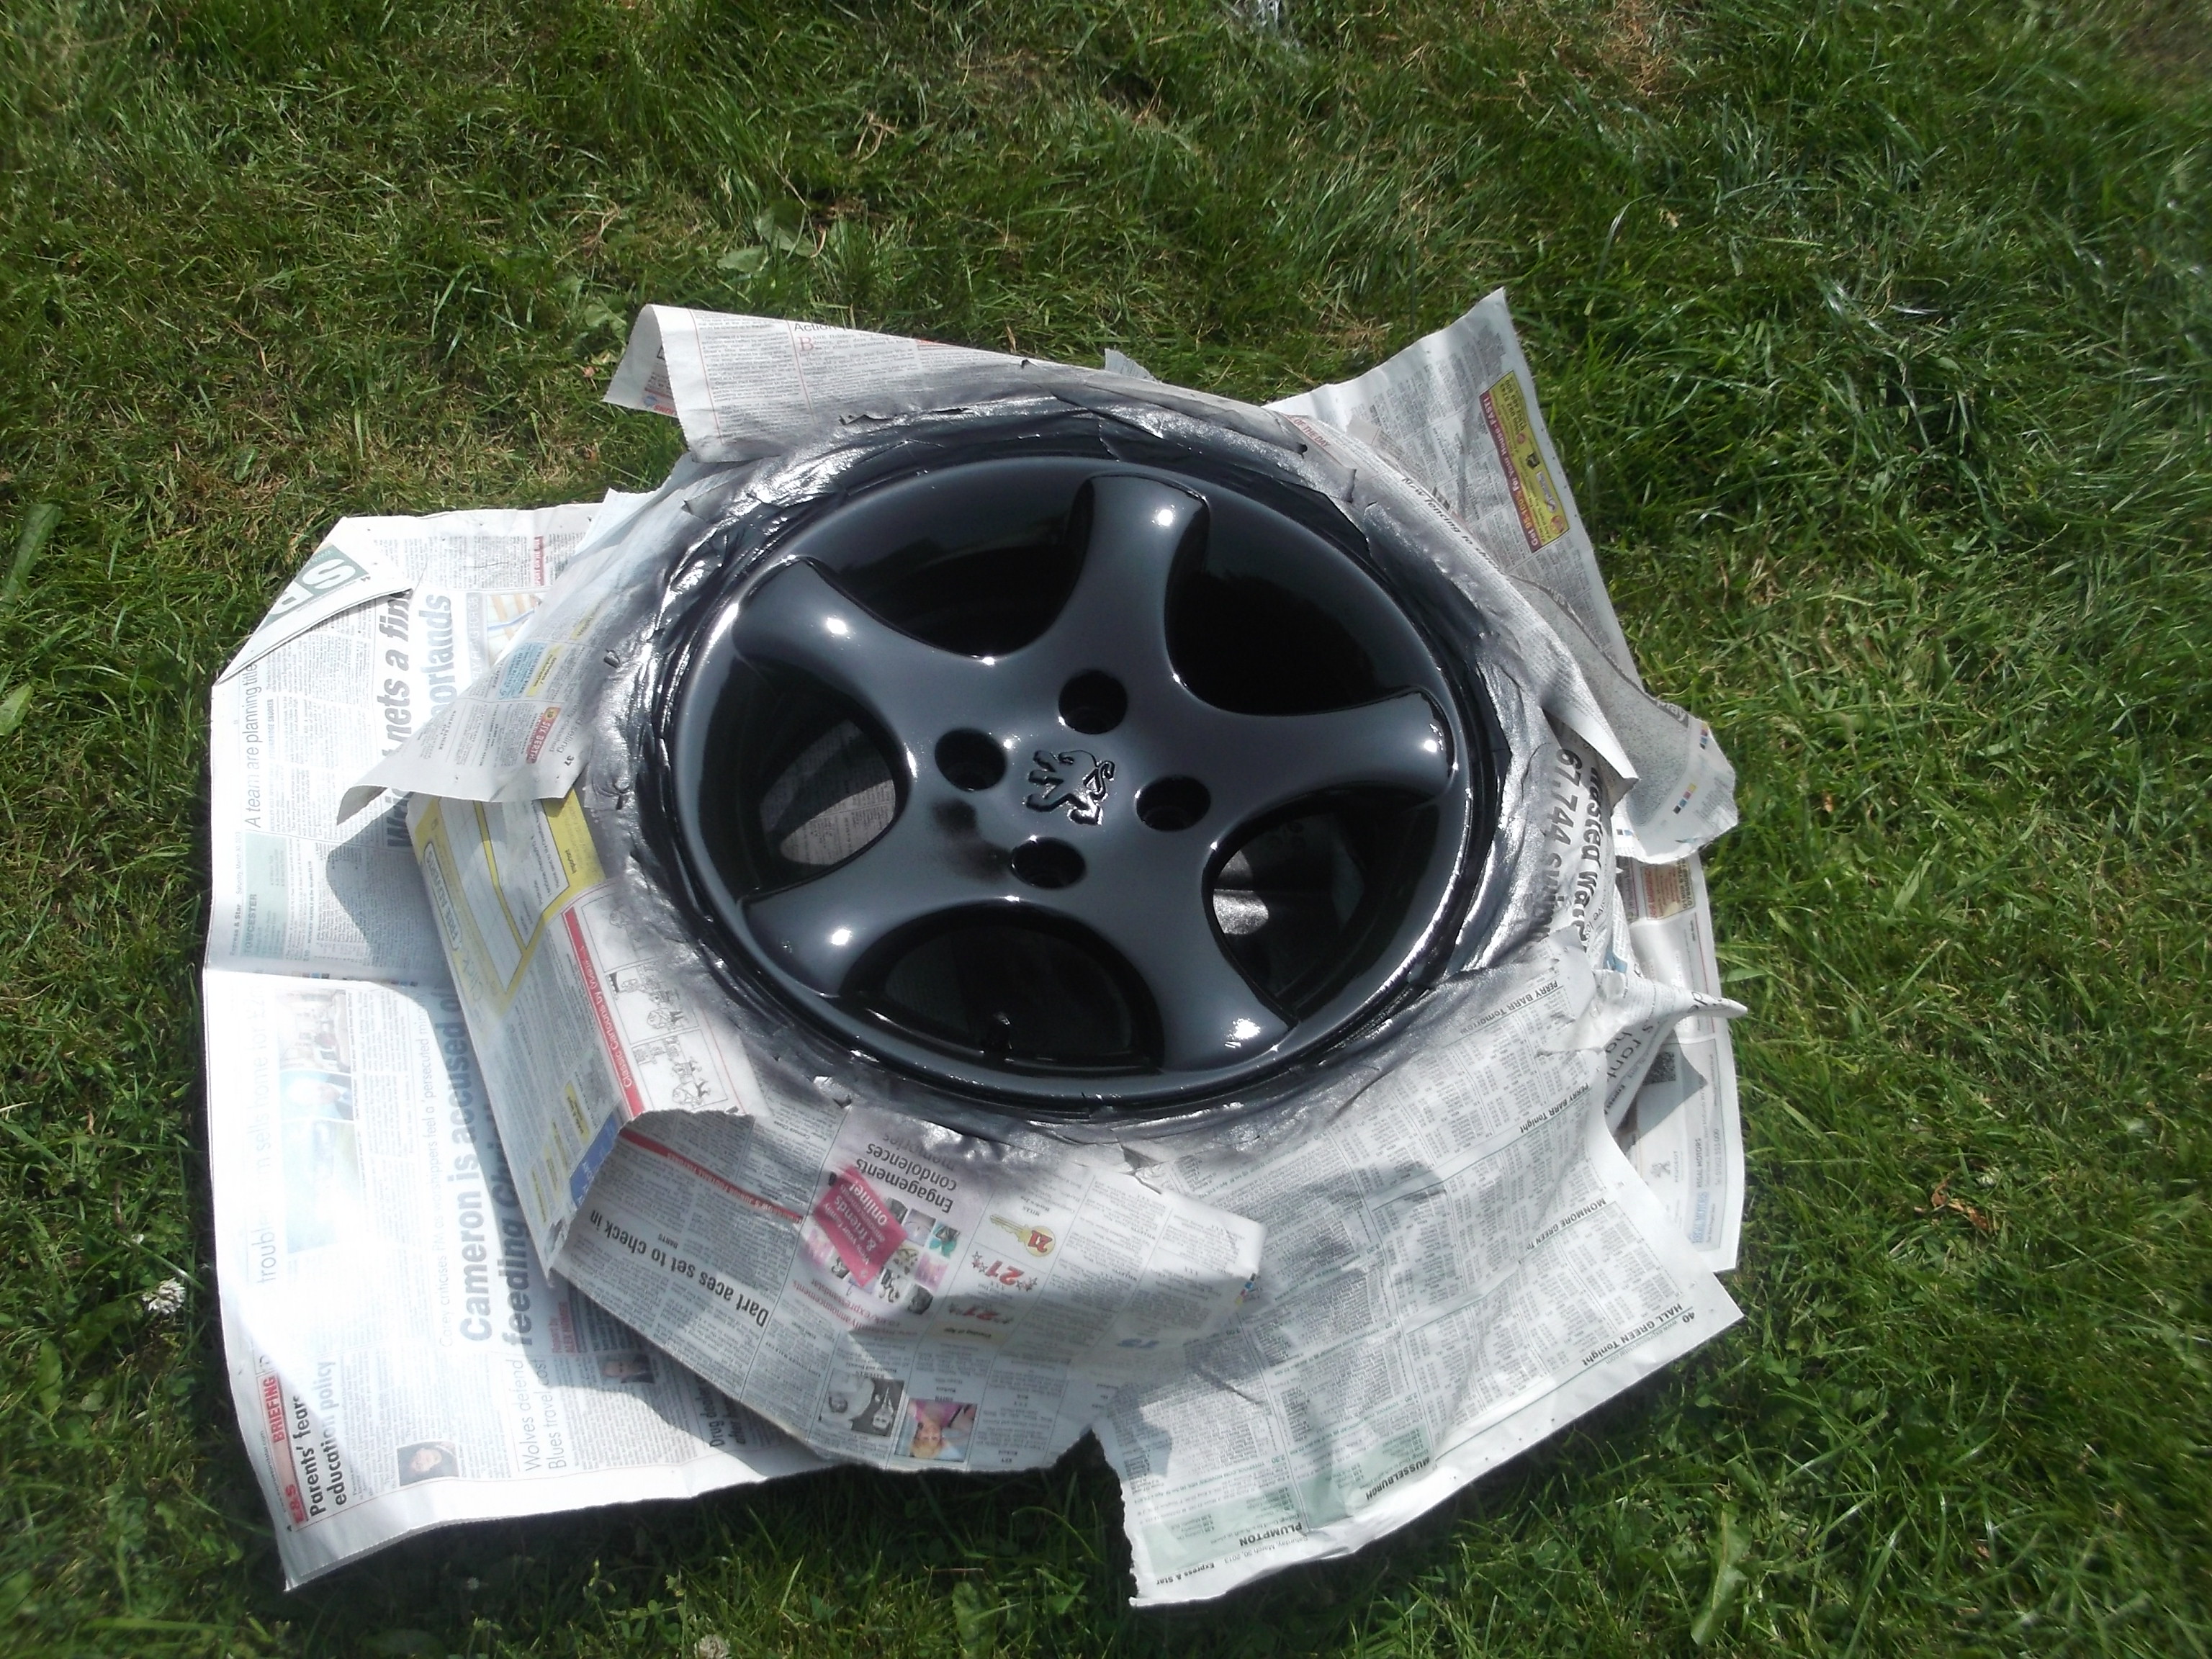
First alloy repainted.
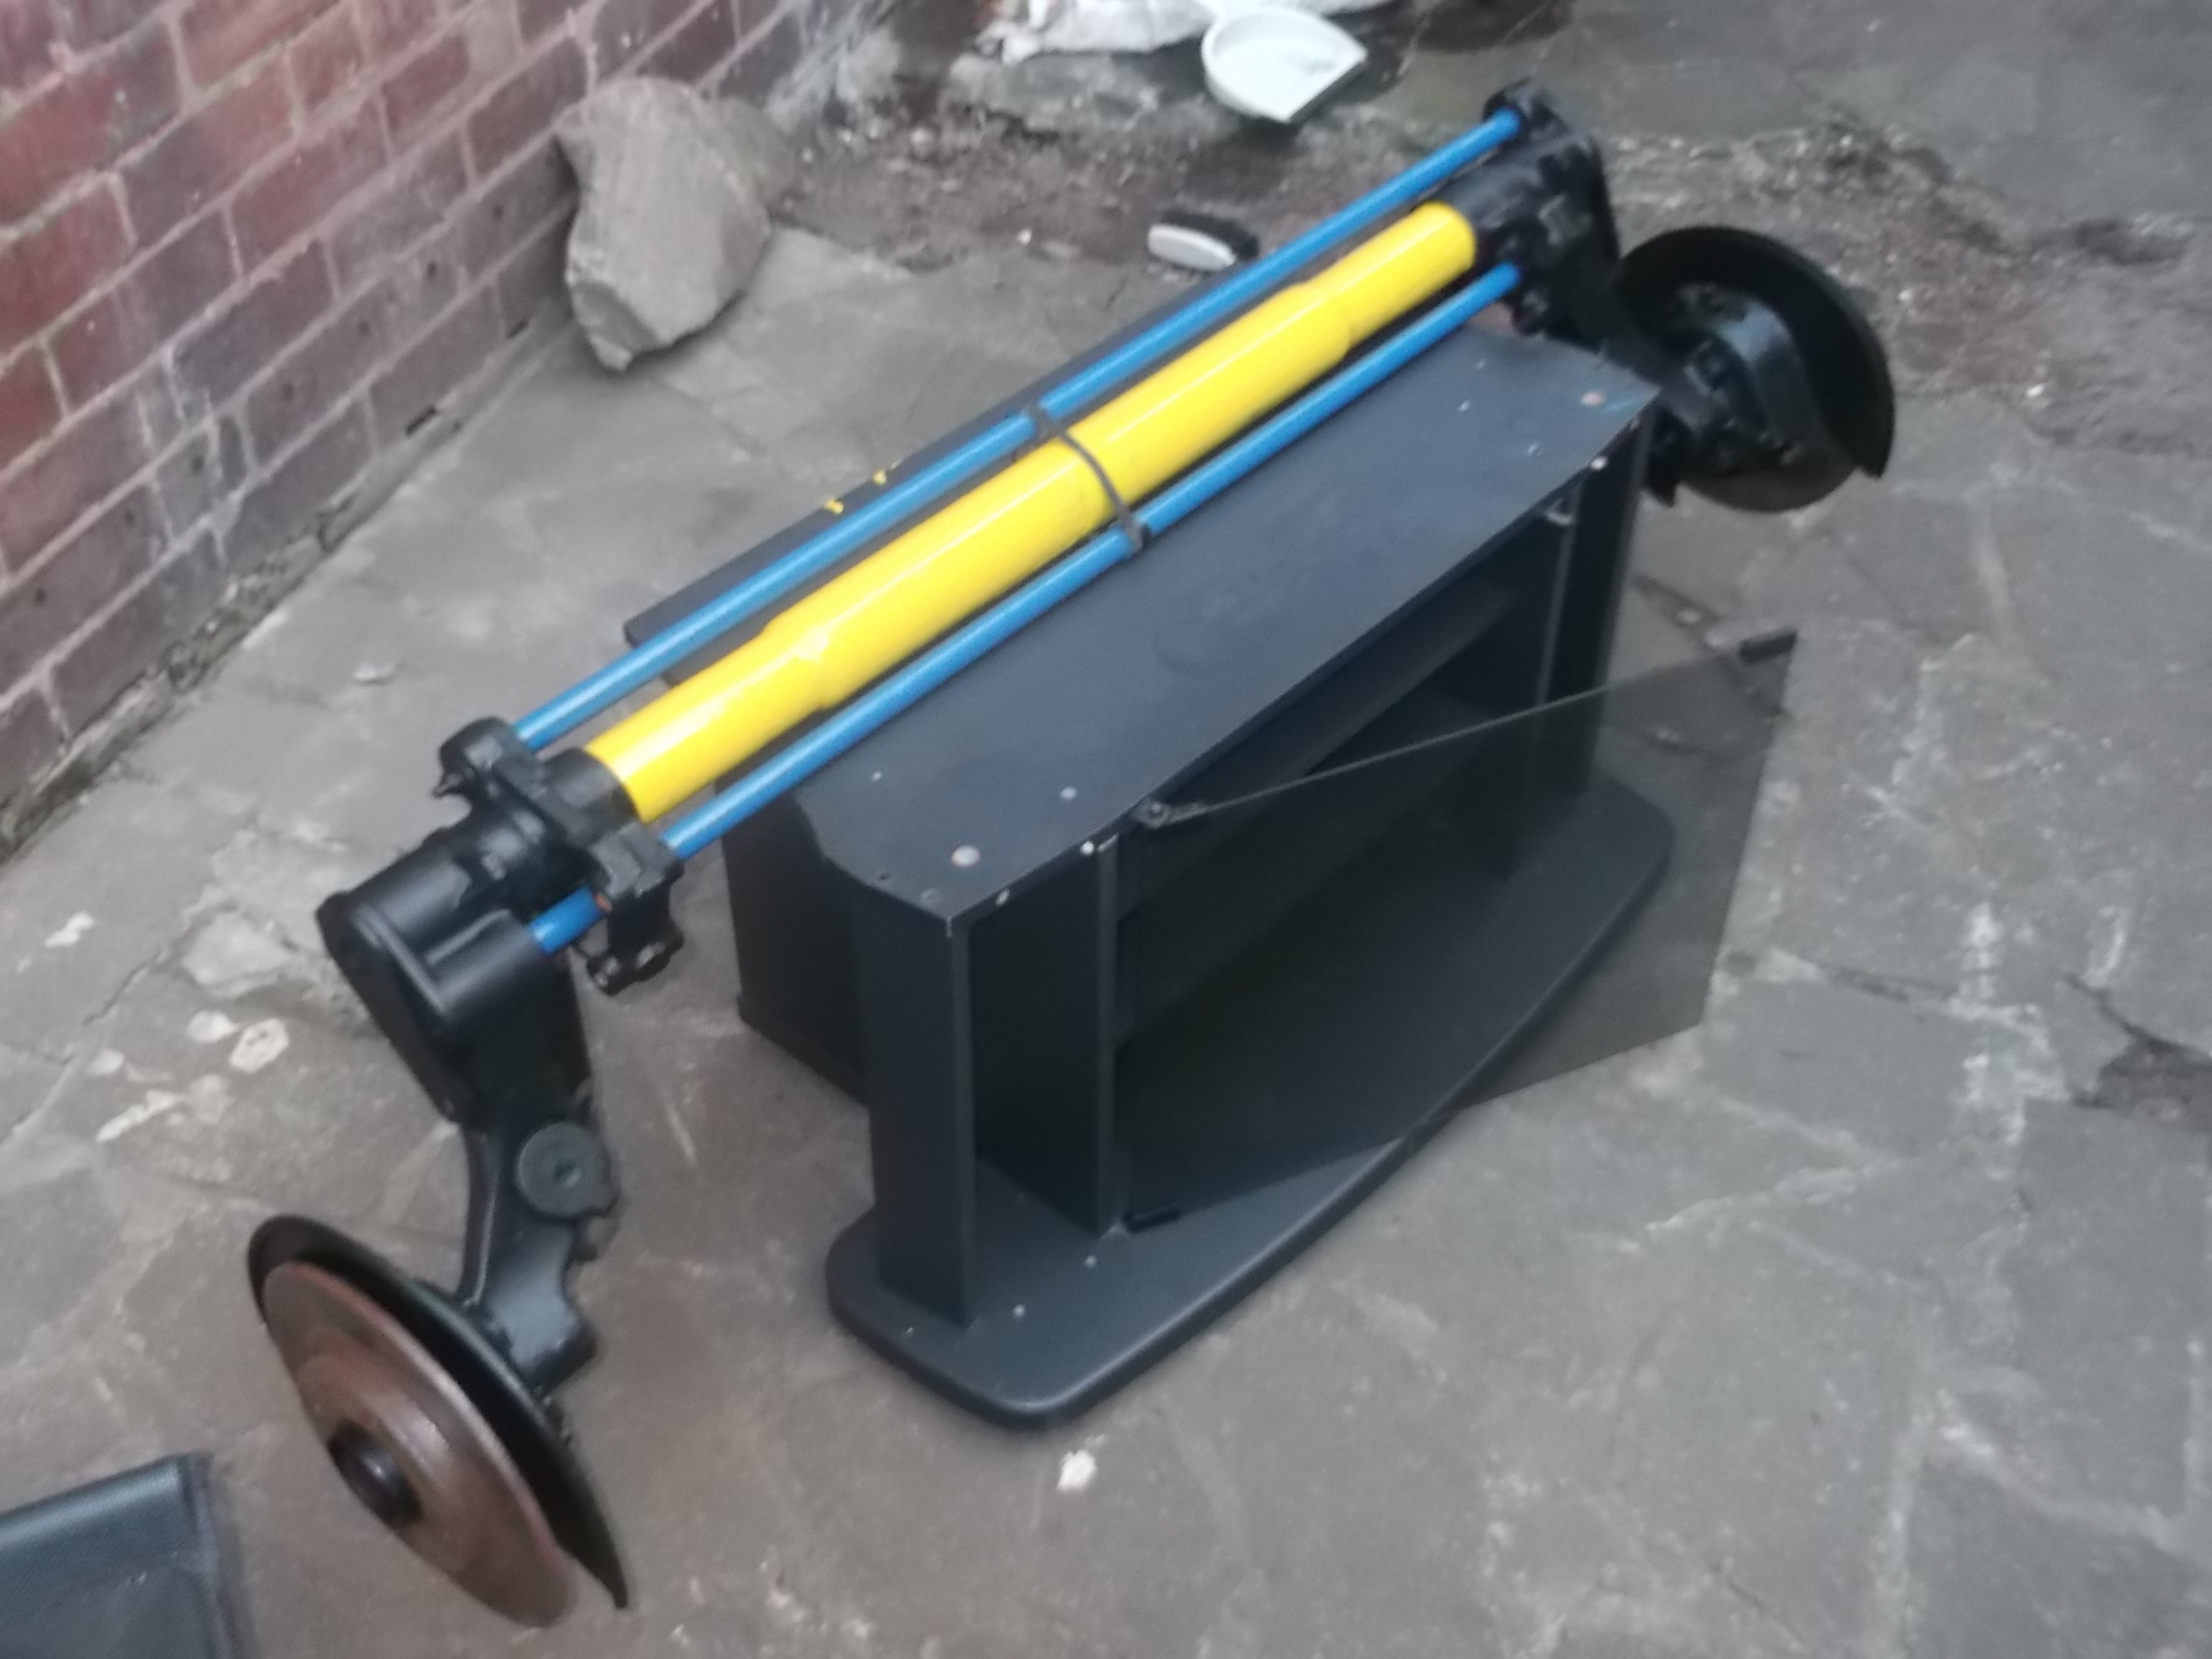
Rear beams almost ready to be put on!
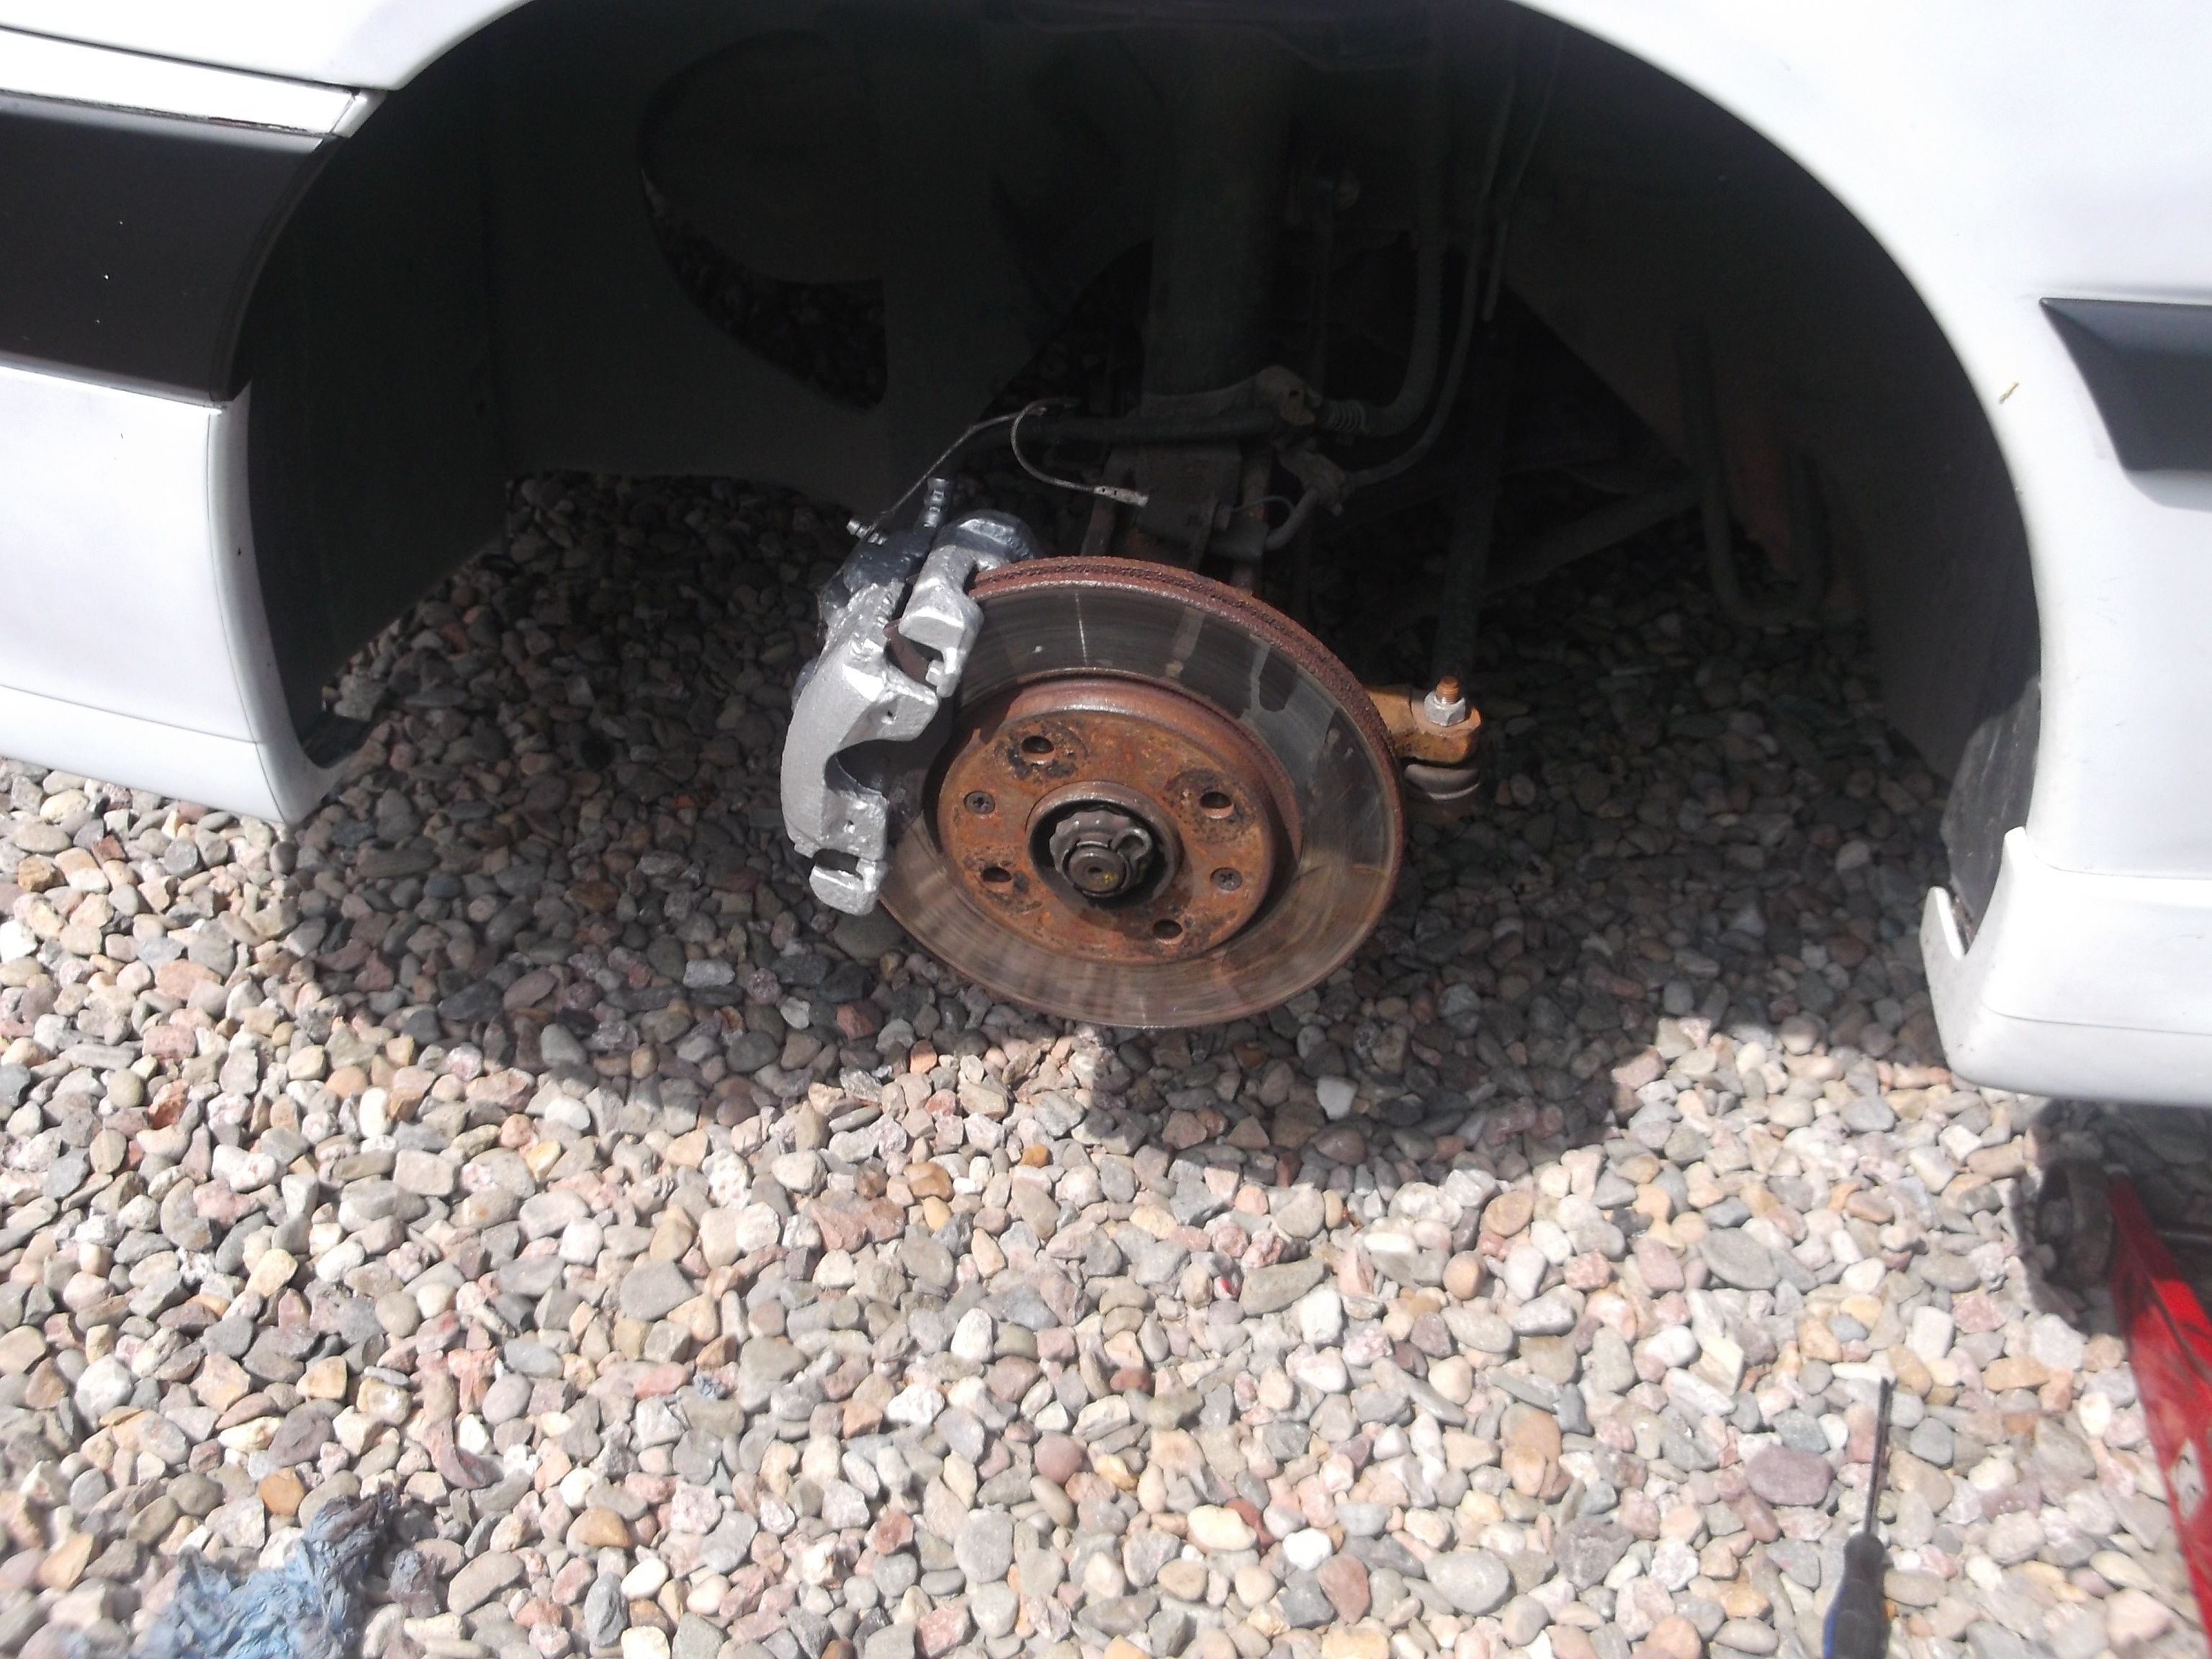
Got the first calliper sanded back and painted!

And put on
!!!

Big updates over the weekend 
Posts: 15,646
Threads: 541
Joined: Dec 2011
Reputation:
124
Location: Aylesbury
Car Model/Spec: 320bhp Impreza WRX
Thanks: 7
Given 59 thank(s) in 58 post(s)
quality looking work on that beam mate
Posts: 14,208
Threads: 448
Joined: Dec 2011
Reputation:
51
Location: isle of wight
Car Model/Spec: Pov. Spec White '6
Thanks: 17
Given 18 thank(s) in 18 post(s)
Get the car painted! I also have a ph1 white grill under the bed if you want a spare 
![[Image: 20A1806D-891D-40FB-BD52-AD519177A607-734...391753.jpg]](http://i35.photobucket.com/albums/d196/mattbush/20A1806D-891D-40FB-BD52-AD519177A607-7340-0000058F46391753.jpg) TEAM CONROD SHITTING RALLYE!
TEAM CONROD SHITTING RALLYE!
Posts: 1,204
Threads: 195
Joined: Jul 2013
Reputation:
6
Location: Wolverhampton
Car Model/Spec: 2000 Xs 1.8 16v
Thanks: 0
Given 0 thank(s) in 0 post(s)
20-07-2013, 09:13 PM
(This post was last modified: 20-07-2013, 09:26 PM by underground375.)
Thanks, if I have to look at another grill again ill cry, ive still got to repaint the hockey sticks. So more messing around with the damn grill! Just finishing off the second caliper, then off to get the hand brake cables Wednesday. So looking to get I ton next weekend. 
Will be booking the paint job at the end of the month 
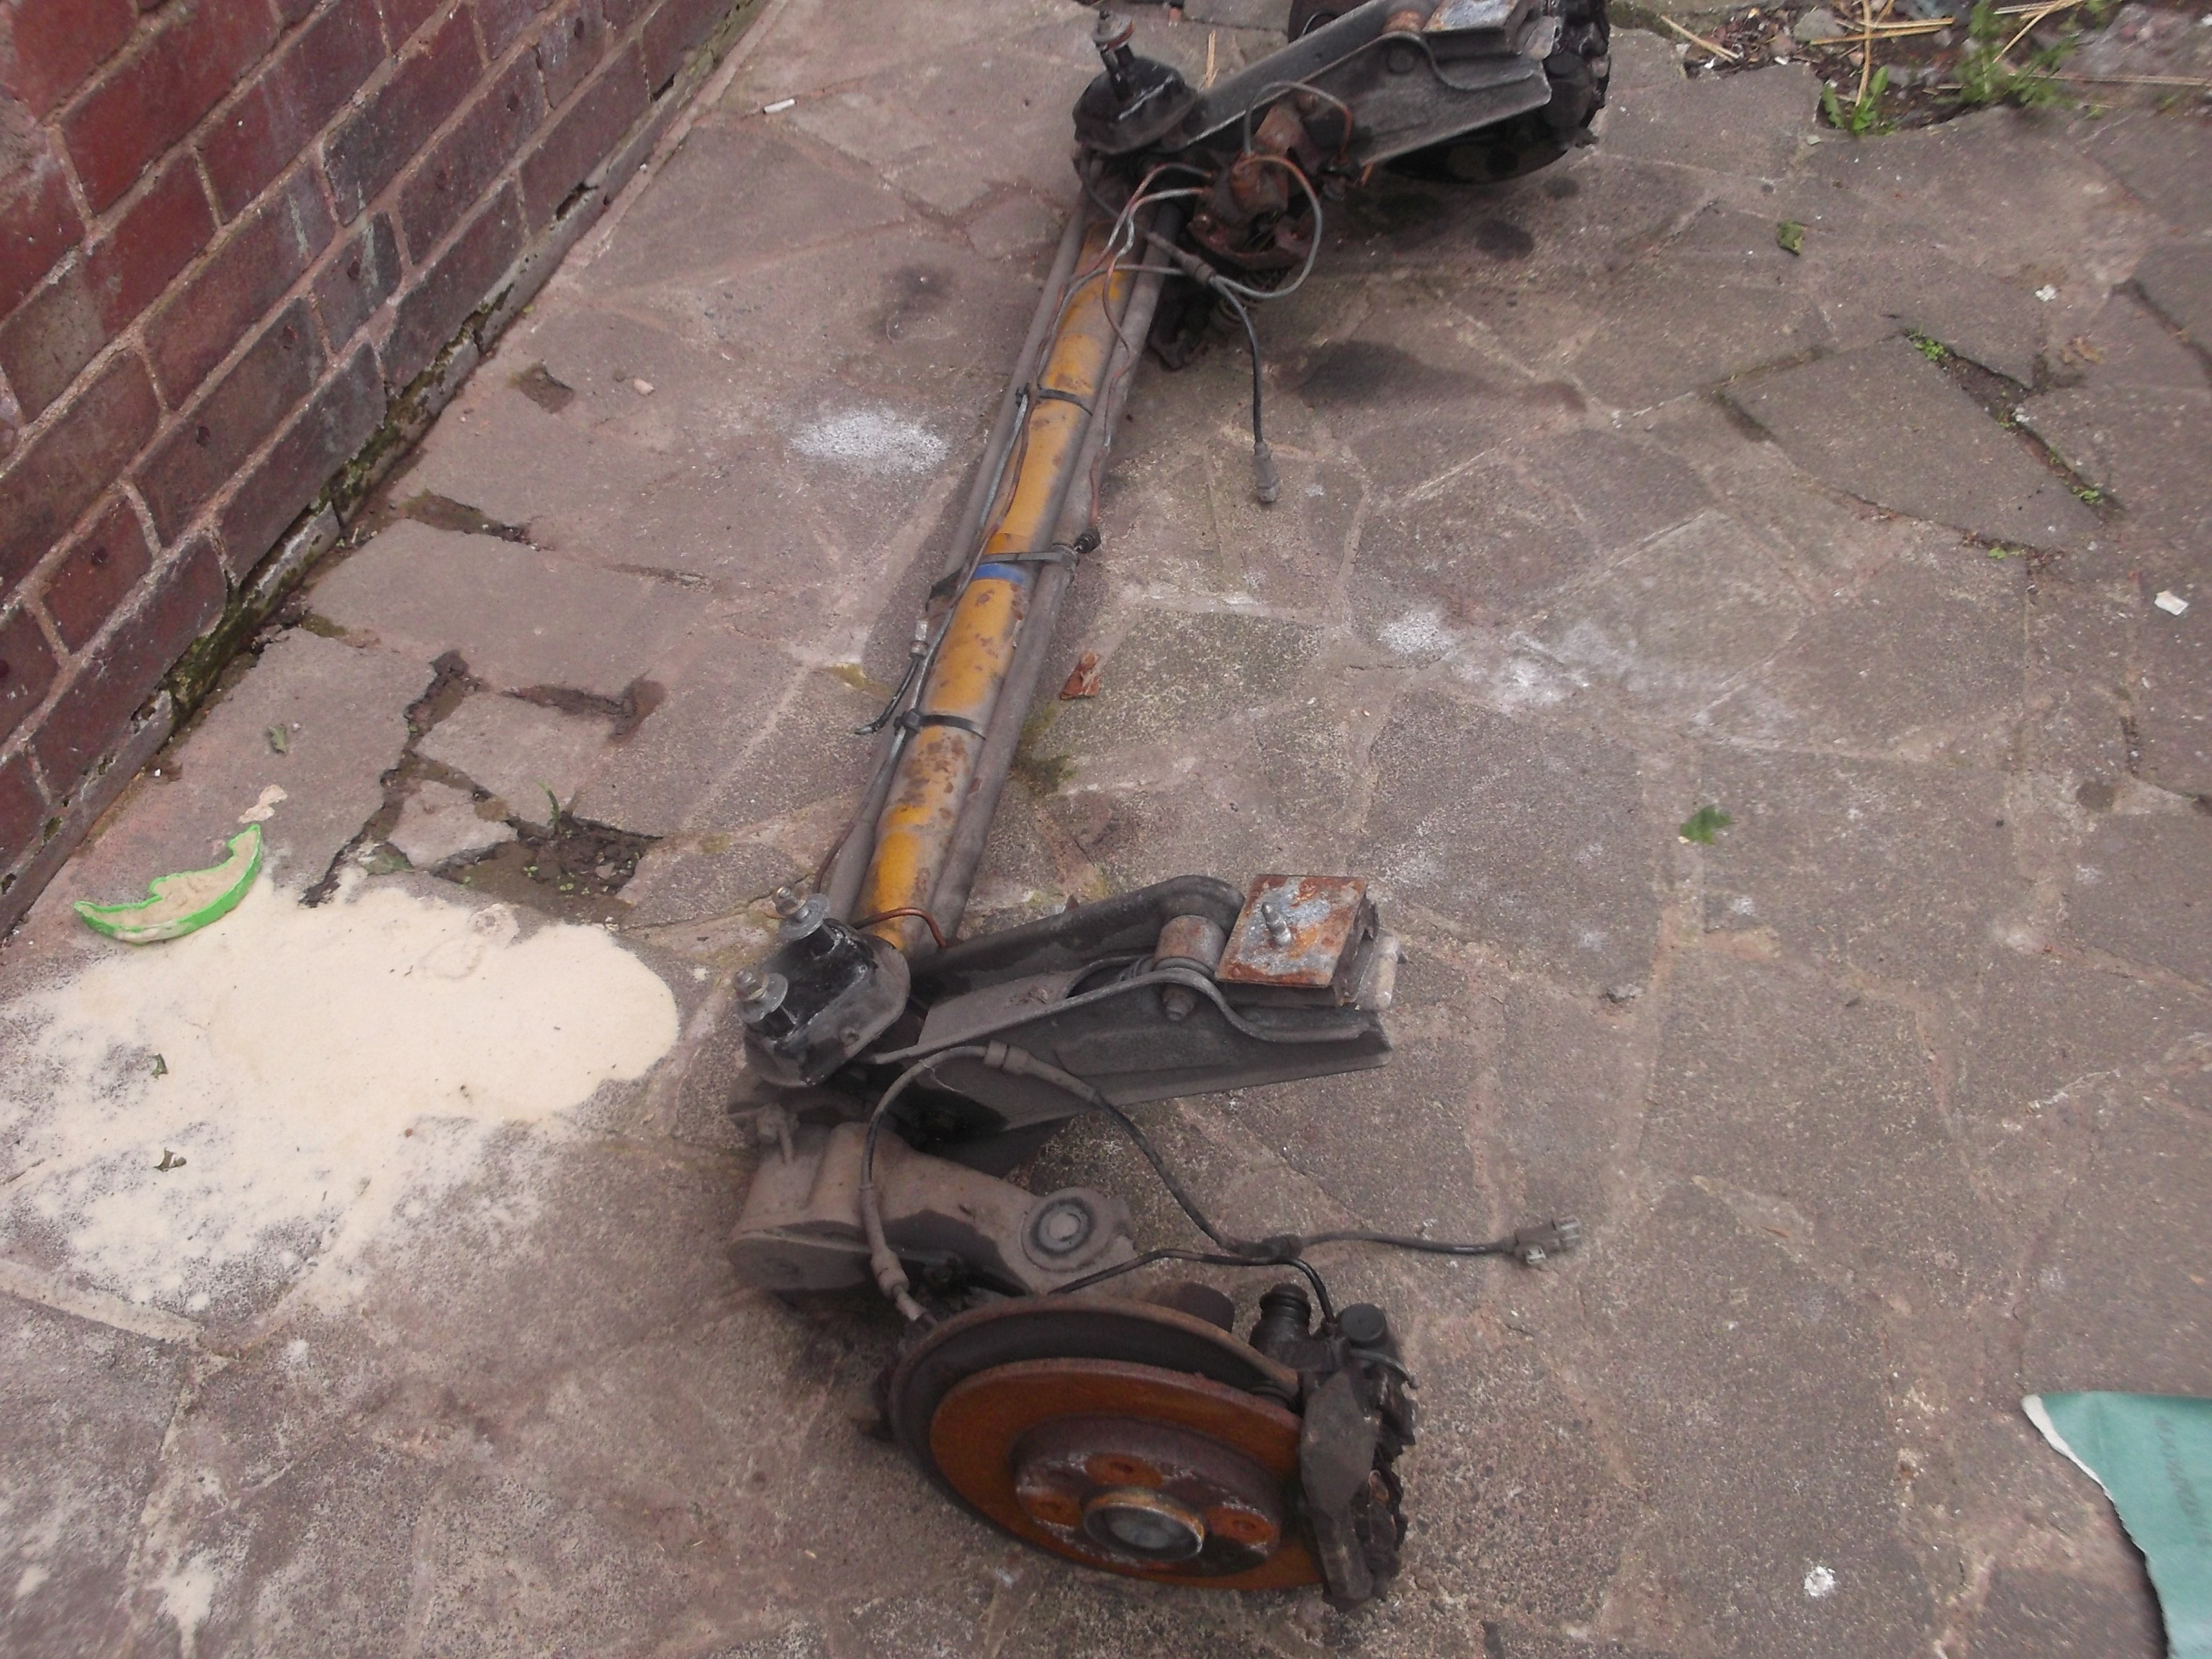
This is what the beam looked like when I had it, pretty bad but is a sound beam. So was worth the time and effort.
Sprayed this little bit of trim black to, every small detail count in this project.
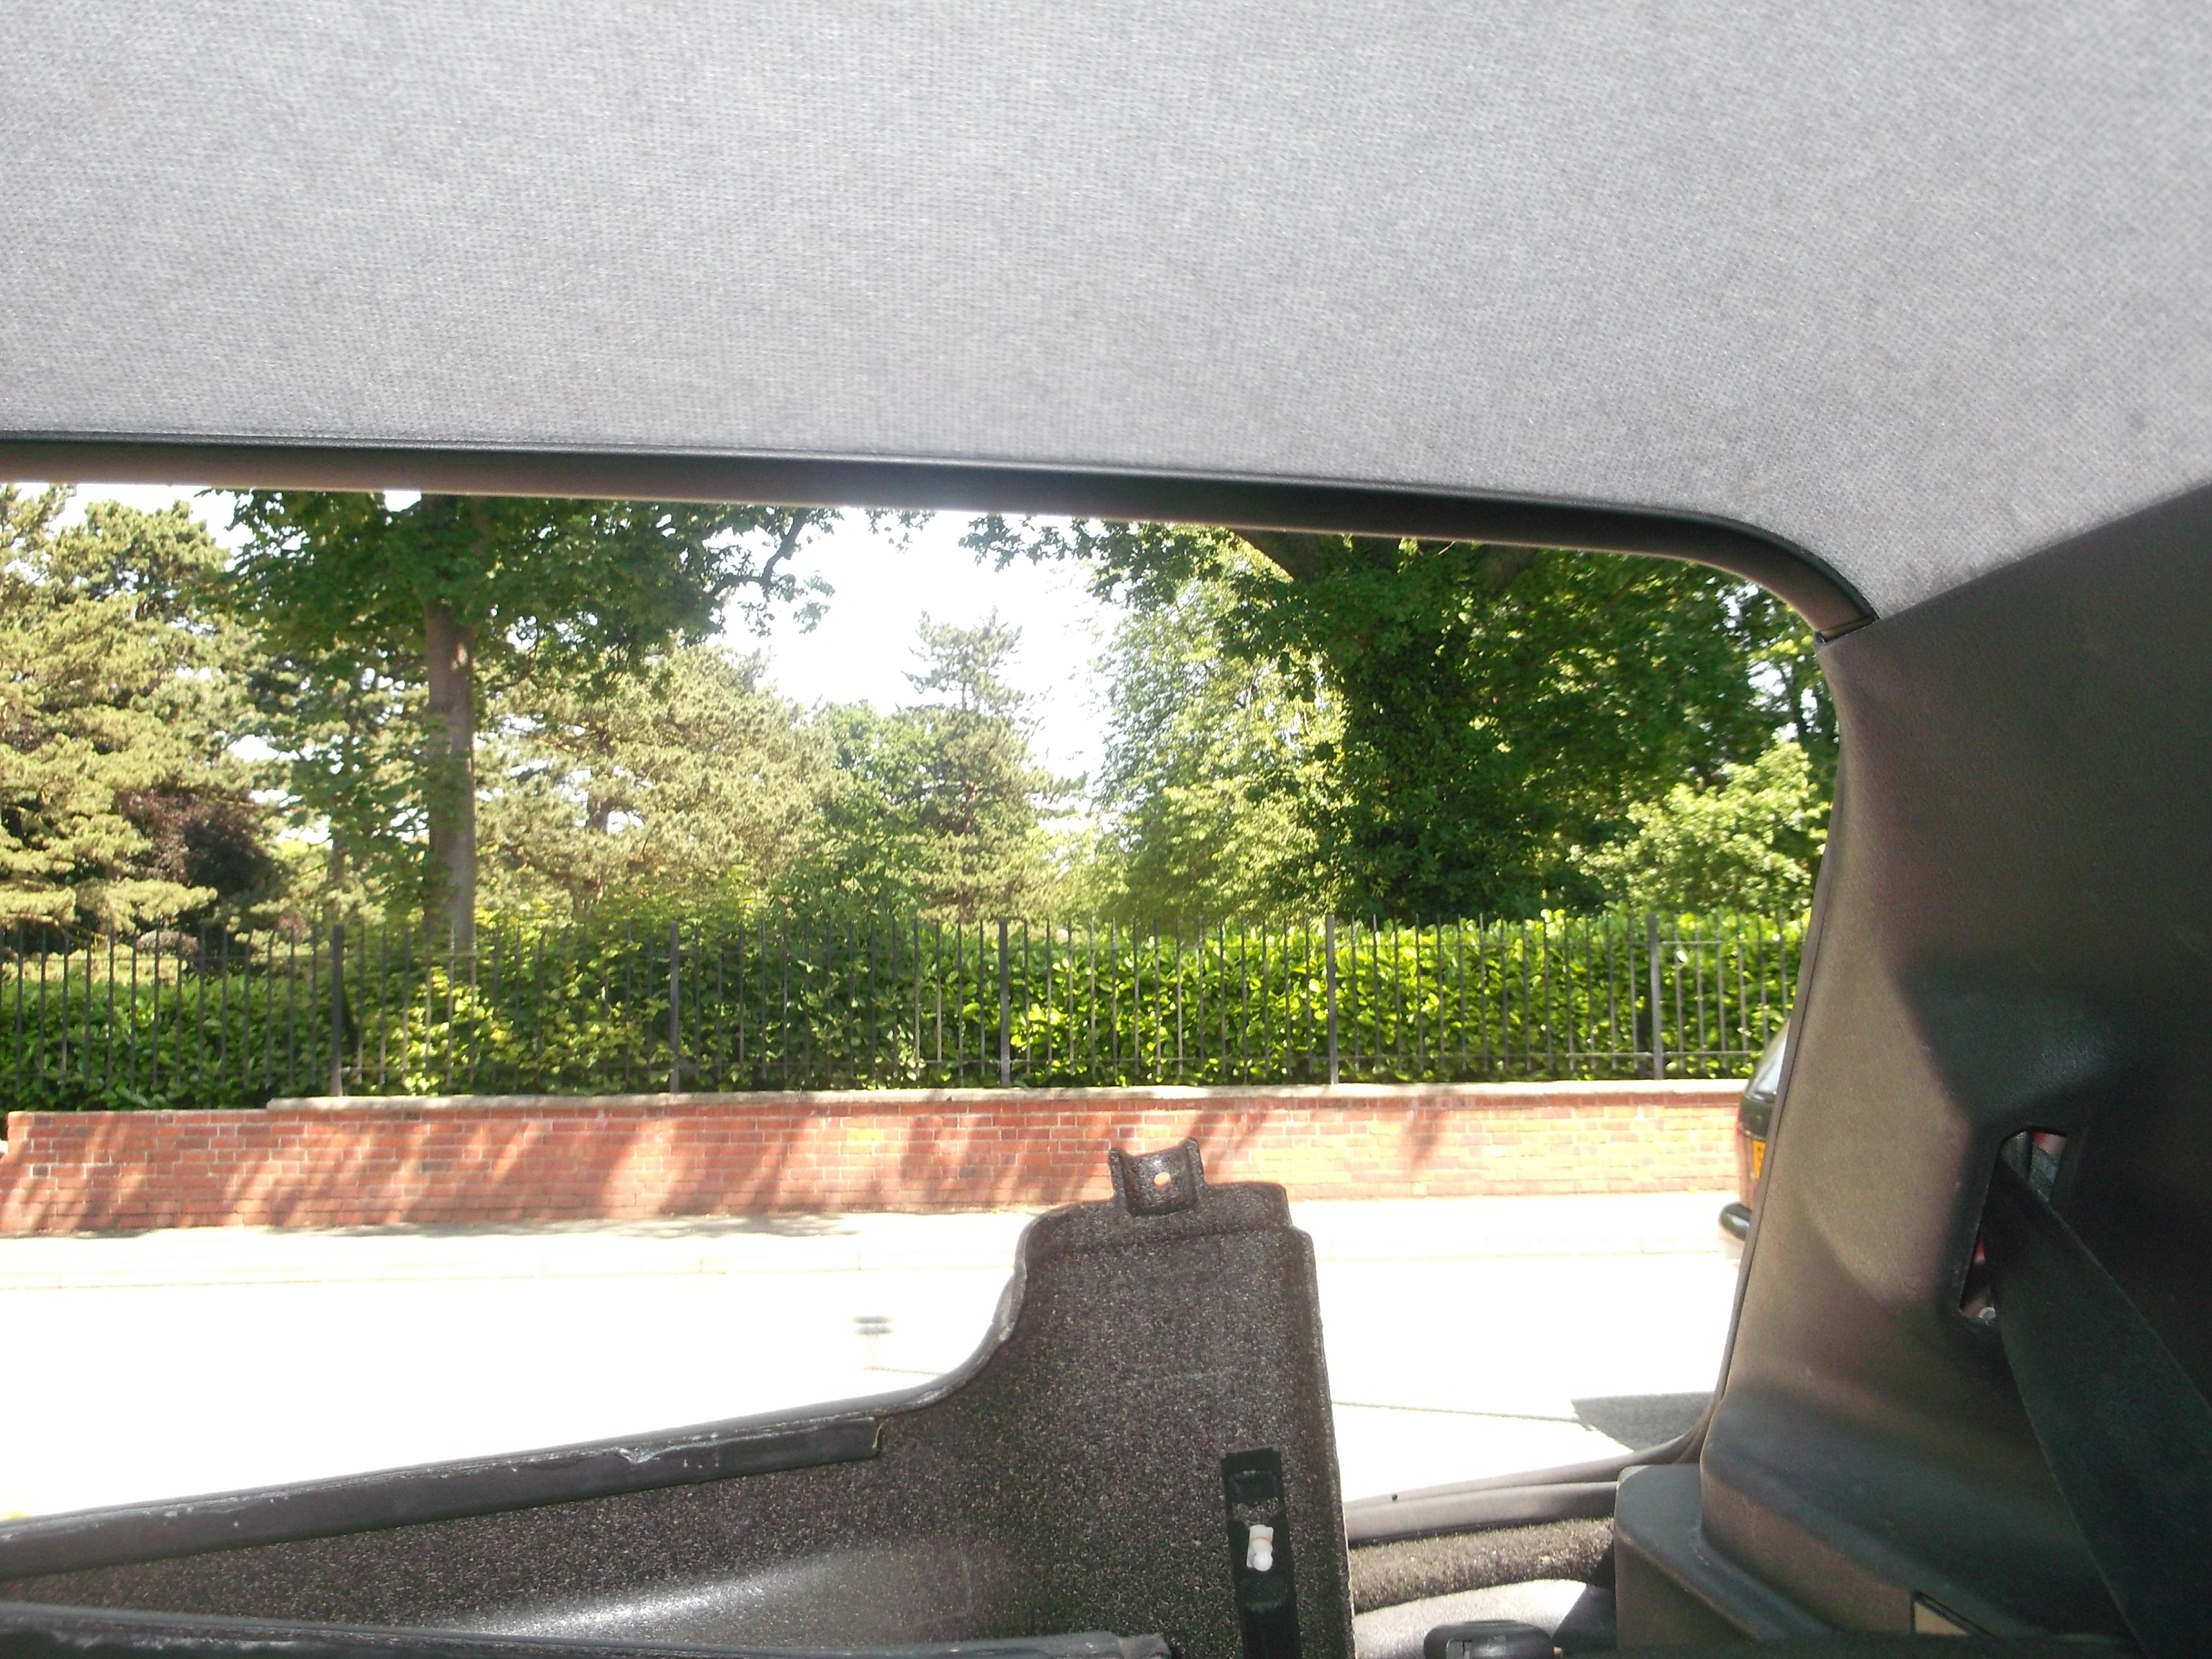
While I was at it I installed to 30cm led strip in the boot, but my camera doesn't pick them up propley.

Posts: 1,204
Threads: 195
Joined: Jul 2013
Reputation:
6
Location: Wolverhampton
Car Model/Spec: 2000 Xs 1.8 16v
Thanks: 0
Given 0 thank(s) in 0 post(s)
Well got bored again as I always do so been busy spraying more interior bits 

Didn't take long which is a first for me so I moved onto the ph3 rear spoiler

Finished off by spraying my D-turbo badge yet to think where to put it 

Will be doing the tail gate and getting the beam on next 
Posts: 1,204
Threads: 195
Joined: Jul 2013
Reputation:
6
Location: Wolverhampton
Car Model/Spec: 2000 Xs 1.8 16v
Thanks: 0
Given 0 thank(s) in 0 post(s)
30-07-2013, 10:08 PM
(This post was last modified: 30-07-2013, 10:11 PM by underground375.)
Another update, ay you peeps lucky  .
Fitted my sprayed bits first thing today, I must say it realy changes the interior of the car!!
![[Image: DSCF1522.jpg]](http://i1254.photobucket.com/albums/hh608/underground375/DSCF1522.jpg)
![[Image: DSCF1520.jpg]](http://i1254.photobucket.com/albums/hh608/underground375/DSCF1520.jpg)
Also fitted my leather stitched gear knob, out of a 406 
Next up I was thinking about buying the gti boot trim but if I did get my hands on one it will probley be marked up and showing it age. So I decided to do this insed.
![[Image: DSCF1518.jpg]](http://i1254.photobucket.com/albums/hh608/underground375/DSCF1518.jpg)
![[Image: DSCF1519.jpg]](http://i1254.photobucket.com/albums/hh608/underground375/DSCF1519.jpg)
I will be doing the hole boot in the near future.
And to finish for today I fitted and smoked my side repeaters, took a while to cut out the larger hole for these to fit.
![[Image: DSCF1524.jpg]](http://i1254.photobucket.com/albums/hh608/underground375/DSCF1524.jpg)
Another update soon 
As my brother has just informed me I have fitted the side repeaters the wrong way round, crap!!!
Posts: 1,204
Threads: 195
Joined: Jul 2013
Reputation:
6
Location: Wolverhampton
Car Model/Spec: 2000 Xs 1.8 16v
Thanks: 0
Given 0 thank(s) in 0 post(s)
Time for a update, will update again in the morning with some over all pictures of the car as it stands!!
First up,
Sprayed my tail gate finally 
![[Image: DSCF1528.jpg]](http://i1254.photobucket.com/albums/hh608/underground375/DSCF1528.jpg)
Took a while to wire in the ph3 loom but about a hour or so later and a role of electrical tape it was finaly finished. 
Next up my leather stitched steering wheel.
![[Image: DSCF1533.jpg]](http://i1254.photobucket.com/albums/hh608/underground375/DSCF1533.jpg)
![[Image: DSCF1534.jpg]](http://i1254.photobucket.com/albums/hh608/underground375/DSCF1534.jpg)
Very nice!!!
The same day I through I would have a good at changing the beams over, took a while to get the break pipes off, had to use mole grips in the end. =\
![[Image: DSCF1527.jpg]](http://i1254.photobucket.com/albums/hh608/underground375/DSCF1527.jpg)
Old beam off and stripped and put on the new beam.
![[Image: DSCF1530.jpg]](http://i1254.photobucket.com/albums/hh608/underground375/DSCF1530.jpg)
![[Image: DSCF1531.jpg]](http://i1254.photobucket.com/albums/hh608/underground375/DSCF1531.jpg)
All on and looking smart, also put new copper break lines on!!! the break fluid was discoloured and mancky, so new stuff go put in 
The new ride height at least 30mm drop,
![[Image: DSCF1532.jpg]](http://i1254.photobucket.com/albums/hh608/underground375/DSCF1532.jpg)
It has since settled after taking the picture so I will upload the finishing picture after I take them tomo, 
Posts: 1,204
Threads: 195
Joined: Jul 2013
Reputation:
6
Location: Wolverhampton
Car Model/Spec: 2000 Xs 1.8 16v
Thanks: 0
Given 0 thank(s) in 0 post(s)
Havant been updating for a while, but I reckon with the amount of work going on with the car I should start getting this thread going again. but for now a few pic's of what ive been buying, (Untill tomorrow)
Most of you should no ive been doing a ph1 to ph3 conversion, well its going well.
![[Image: DSCF1721.jpg]](http://i1254.photobucket.com/albums/hh608/underground375/DSCF1721.jpg)
Hockey stick don't line up nor did the inner arches so I had to go and buy these!
![[Image: DSCF1758.jpg]](http://i1254.photobucket.com/albums/hh608/underground375/DSCF1758.jpg)
![[Image: DSCF1759.jpg]](http://i1254.photobucket.com/albums/hh608/underground375/DSCF1759.jpg)
They will soon be sanded and in primer, next up after thinking if they did a pure black carpet to replace my crapy grey one. Well I found one.
![[Image: DSCF1753.jpg]](http://i1254.photobucket.com/albums/hh608/underground375/DSCF1753.jpg)
No point in stripping my mix match interior just to fit that. So today I picked up this very fine example of a gti half lever interior.
![[Image: DSCF1755.jpg]](http://i1254.photobucket.com/albums/hh608/underground375/DSCF1755.jpg)
![[Image: DSCF1754.jpg]](http://i1254.photobucket.com/albums/hh608/underground375/DSCF1754.jpg)
Only ware on the hole interior is this little bit!
![[Image: DSCF1756.jpg]](http://i1254.photobucket.com/albums/hh608/underground375/DSCF1756.jpg)
Only he colour has gone! No rips! So will be getting a die kit off ebay to sort this out asap!.
Will update again tomo 
Posts: 20,092
Threads: 591
Joined: Nov 2012
Reputation:
54
Location: Cotswolds
Car Model/Spec: Stage 13 16v HDi


Thanks: 22
Given 68 thank(s) in 68 post(s)
getting there 
Posts: 28
Threads: 2
Joined: Aug 2013
Location: Berlaar, Belgium
Car Model/Spec: XUD9TE estate
Thanks: 0
Given 0 thank(s) in 0 post(s)
Sweet interior, and nice dt. Not bad in white
Posts: 1,204
Threads: 195
Joined: Jul 2013
Reputation:
6
Location: Wolverhampton
Car Model/Spec: 2000 Xs 1.8 16v
Thanks: 0
Given 0 thank(s) in 0 post(s)
Yup coming along nicely, will upload some pictures later.
The black carpet didn't fit. bit gutted but I will keep a eye out for a blue one if any come about. If not ill try and get me a standard grey one in good condition
Posts: 1,204
Threads: 195
Joined: Jul 2013
Reputation:
6
Location: Wolverhampton
Car Model/Spec: 2000 Xs 1.8 16v
Thanks: 0
Given 0 thank(s) in 0 post(s)
17-09-2013, 07:45 PM
(This post was last modified: 17-09-2013, 07:46 PM by underground375.)
Time for another update. WAs my 24th birthday last Thursday so I had a few goodies for the car! As you do.
First up I got my bonnet in primer finally!
![[Image: DSCF1765.jpg]](http://i1254.photobucket.com/albums/hh608/underground375/DSCF1765.jpg)
Also got me a set of pressed plates which you maybe able to tell from that picture! 
Next up I got a set of G3 wind deflectors.
![[Image: DSCF1764.jpg]](http://i1254.photobucket.com/albums/hh608/underground375/DSCF1764.jpg)
Very nice!
While I was at It I fort I would install my white lockwood dials. My car threme is white black and blue, so while I was at it I painted my needles. 
![[Image: DSCF1762.jpg]](http://i1254.photobucket.com/albums/hh608/underground375/DSCF1762.jpg)
![[Image: DSCF1763.jpg]](http://i1254.photobucket.com/albums/hh608/underground375/DSCF1763.jpg)
Last up for now, my new fitted interior.
![[Image: DSCF1760.jpg]](http://i1254.photobucket.com/albums/hh608/underground375/DSCF1760.jpg)
![[Image: DSCF1761.jpg]](http://i1254.photobucket.com/albums/hh608/underground375/DSCF1761.jpg)
Update soon 
Sorry about the poor few pictures, it was raining hard and I didn't wont to get wet 
Posts: 28
Threads: 2
Joined: Aug 2013
Location: Berlaar, Belgium
Car Model/Spec: XUD9TE estate
Thanks: 0
Given 0 thank(s) in 0 post(s)
Posts: 1,204
Threads: 195
Joined: Jul 2013
Reputation:
6
Location: Wolverhampton
Car Model/Spec: 2000 Xs 1.8 16v
Thanks: 0
Given 0 thank(s) in 0 post(s)
Update!
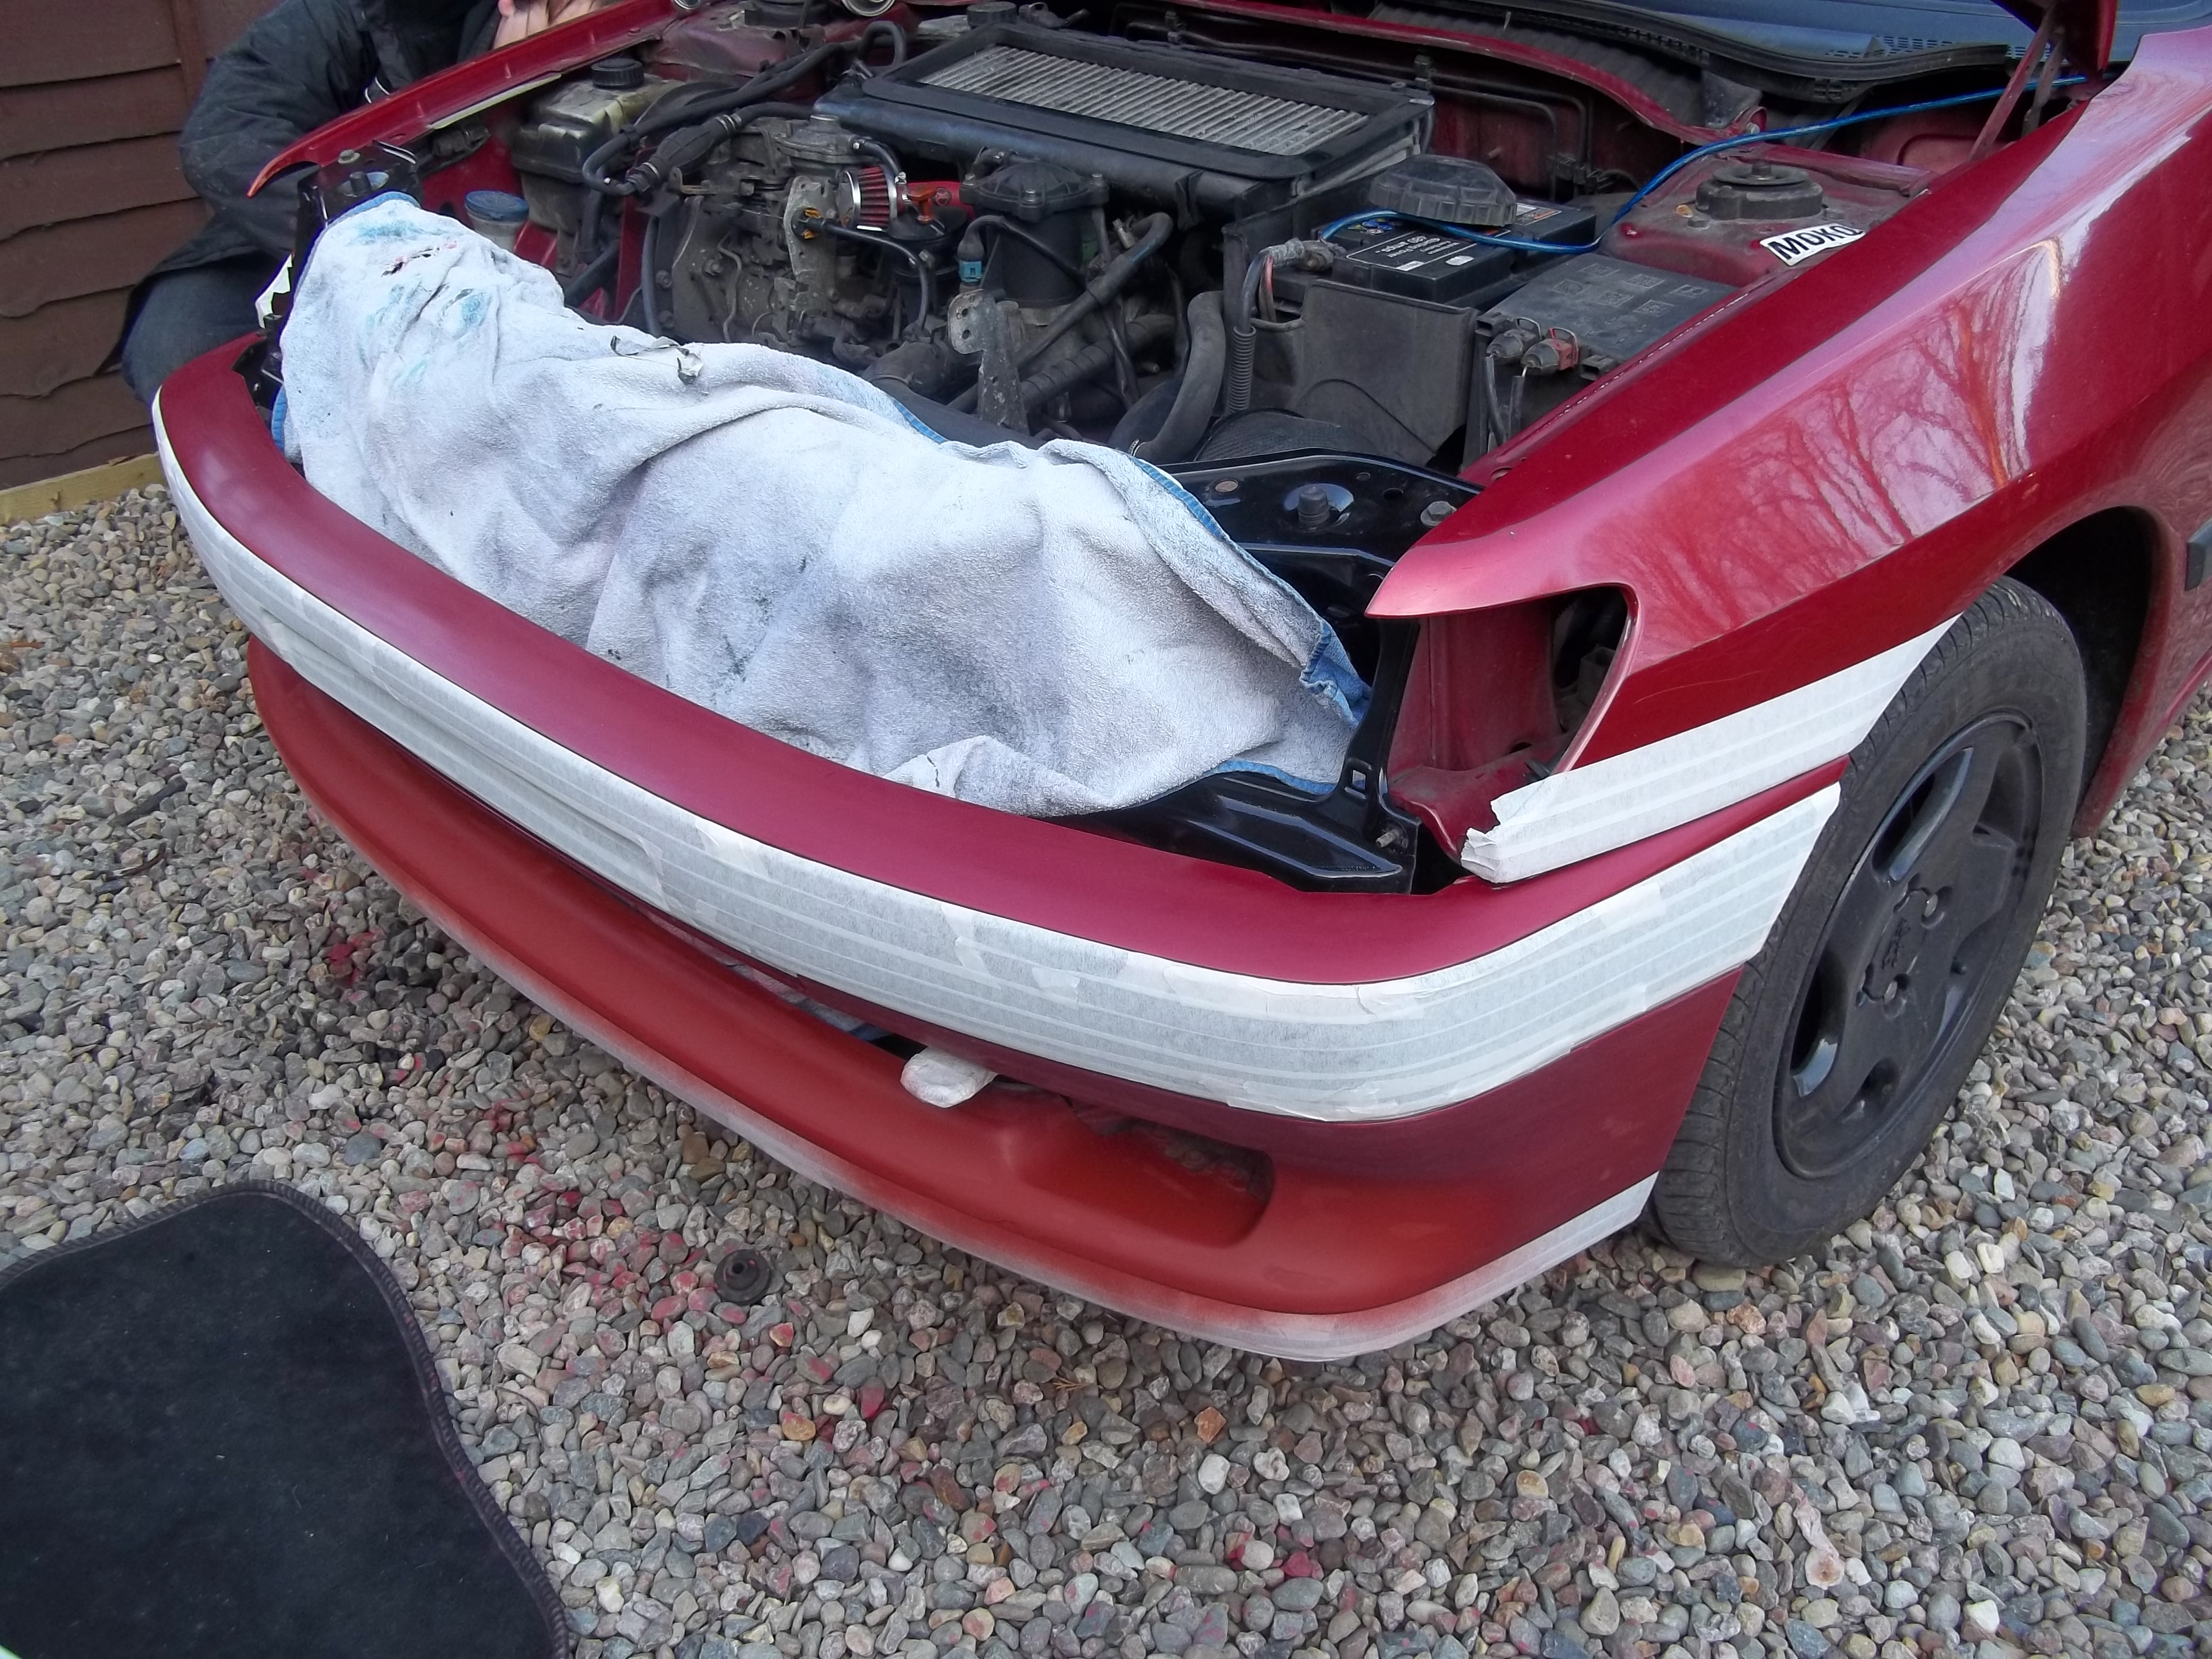
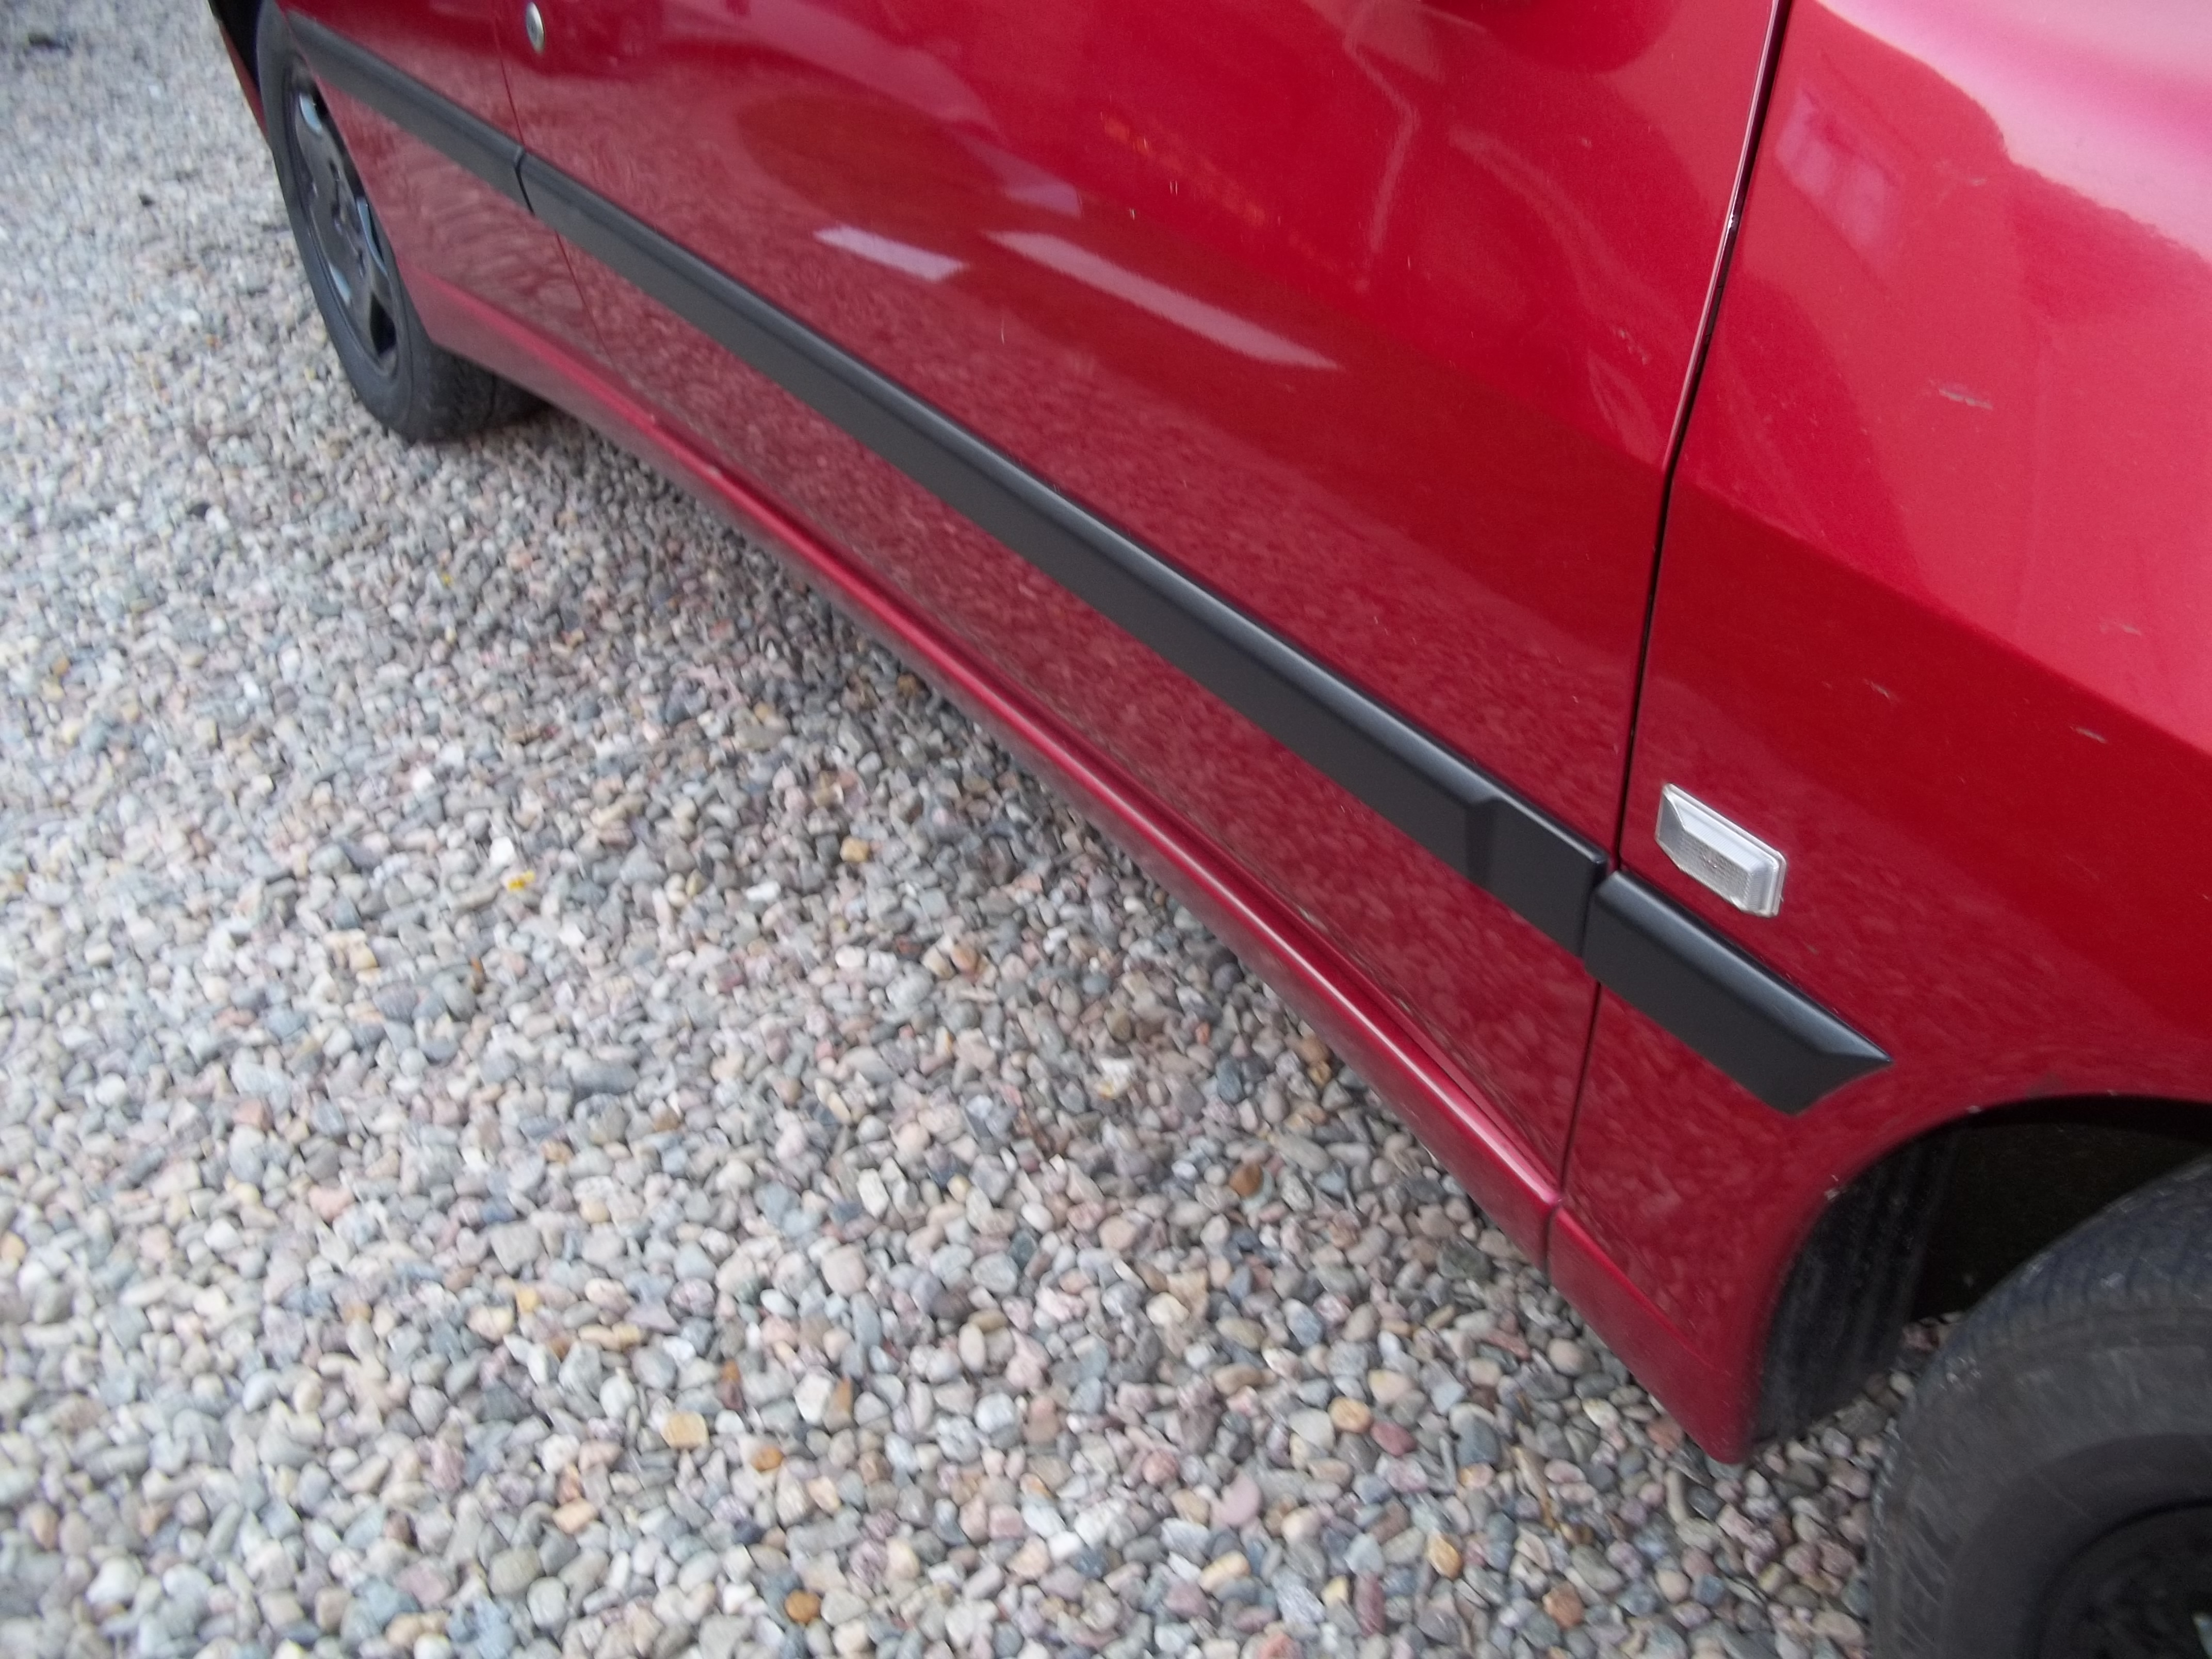
While we had good weather today i decided to have a good at fitting my new wings.
![[Image: DSCF1766.jpg]](http://i1254.photobucket.com/albums/hh608/underground375/DSCF1766.jpg)
![[Image: DSCF1768.jpg]](http://i1254.photobucket.com/albums/hh608/underground375/DSCF1768.jpg)
I sanded them down ready for paint, but time was pushing on so i moved onto the other side.
![[Image: DSCF1767.jpg]](http://i1254.photobucket.com/albums/hh608/underground375/DSCF1767.jpg)
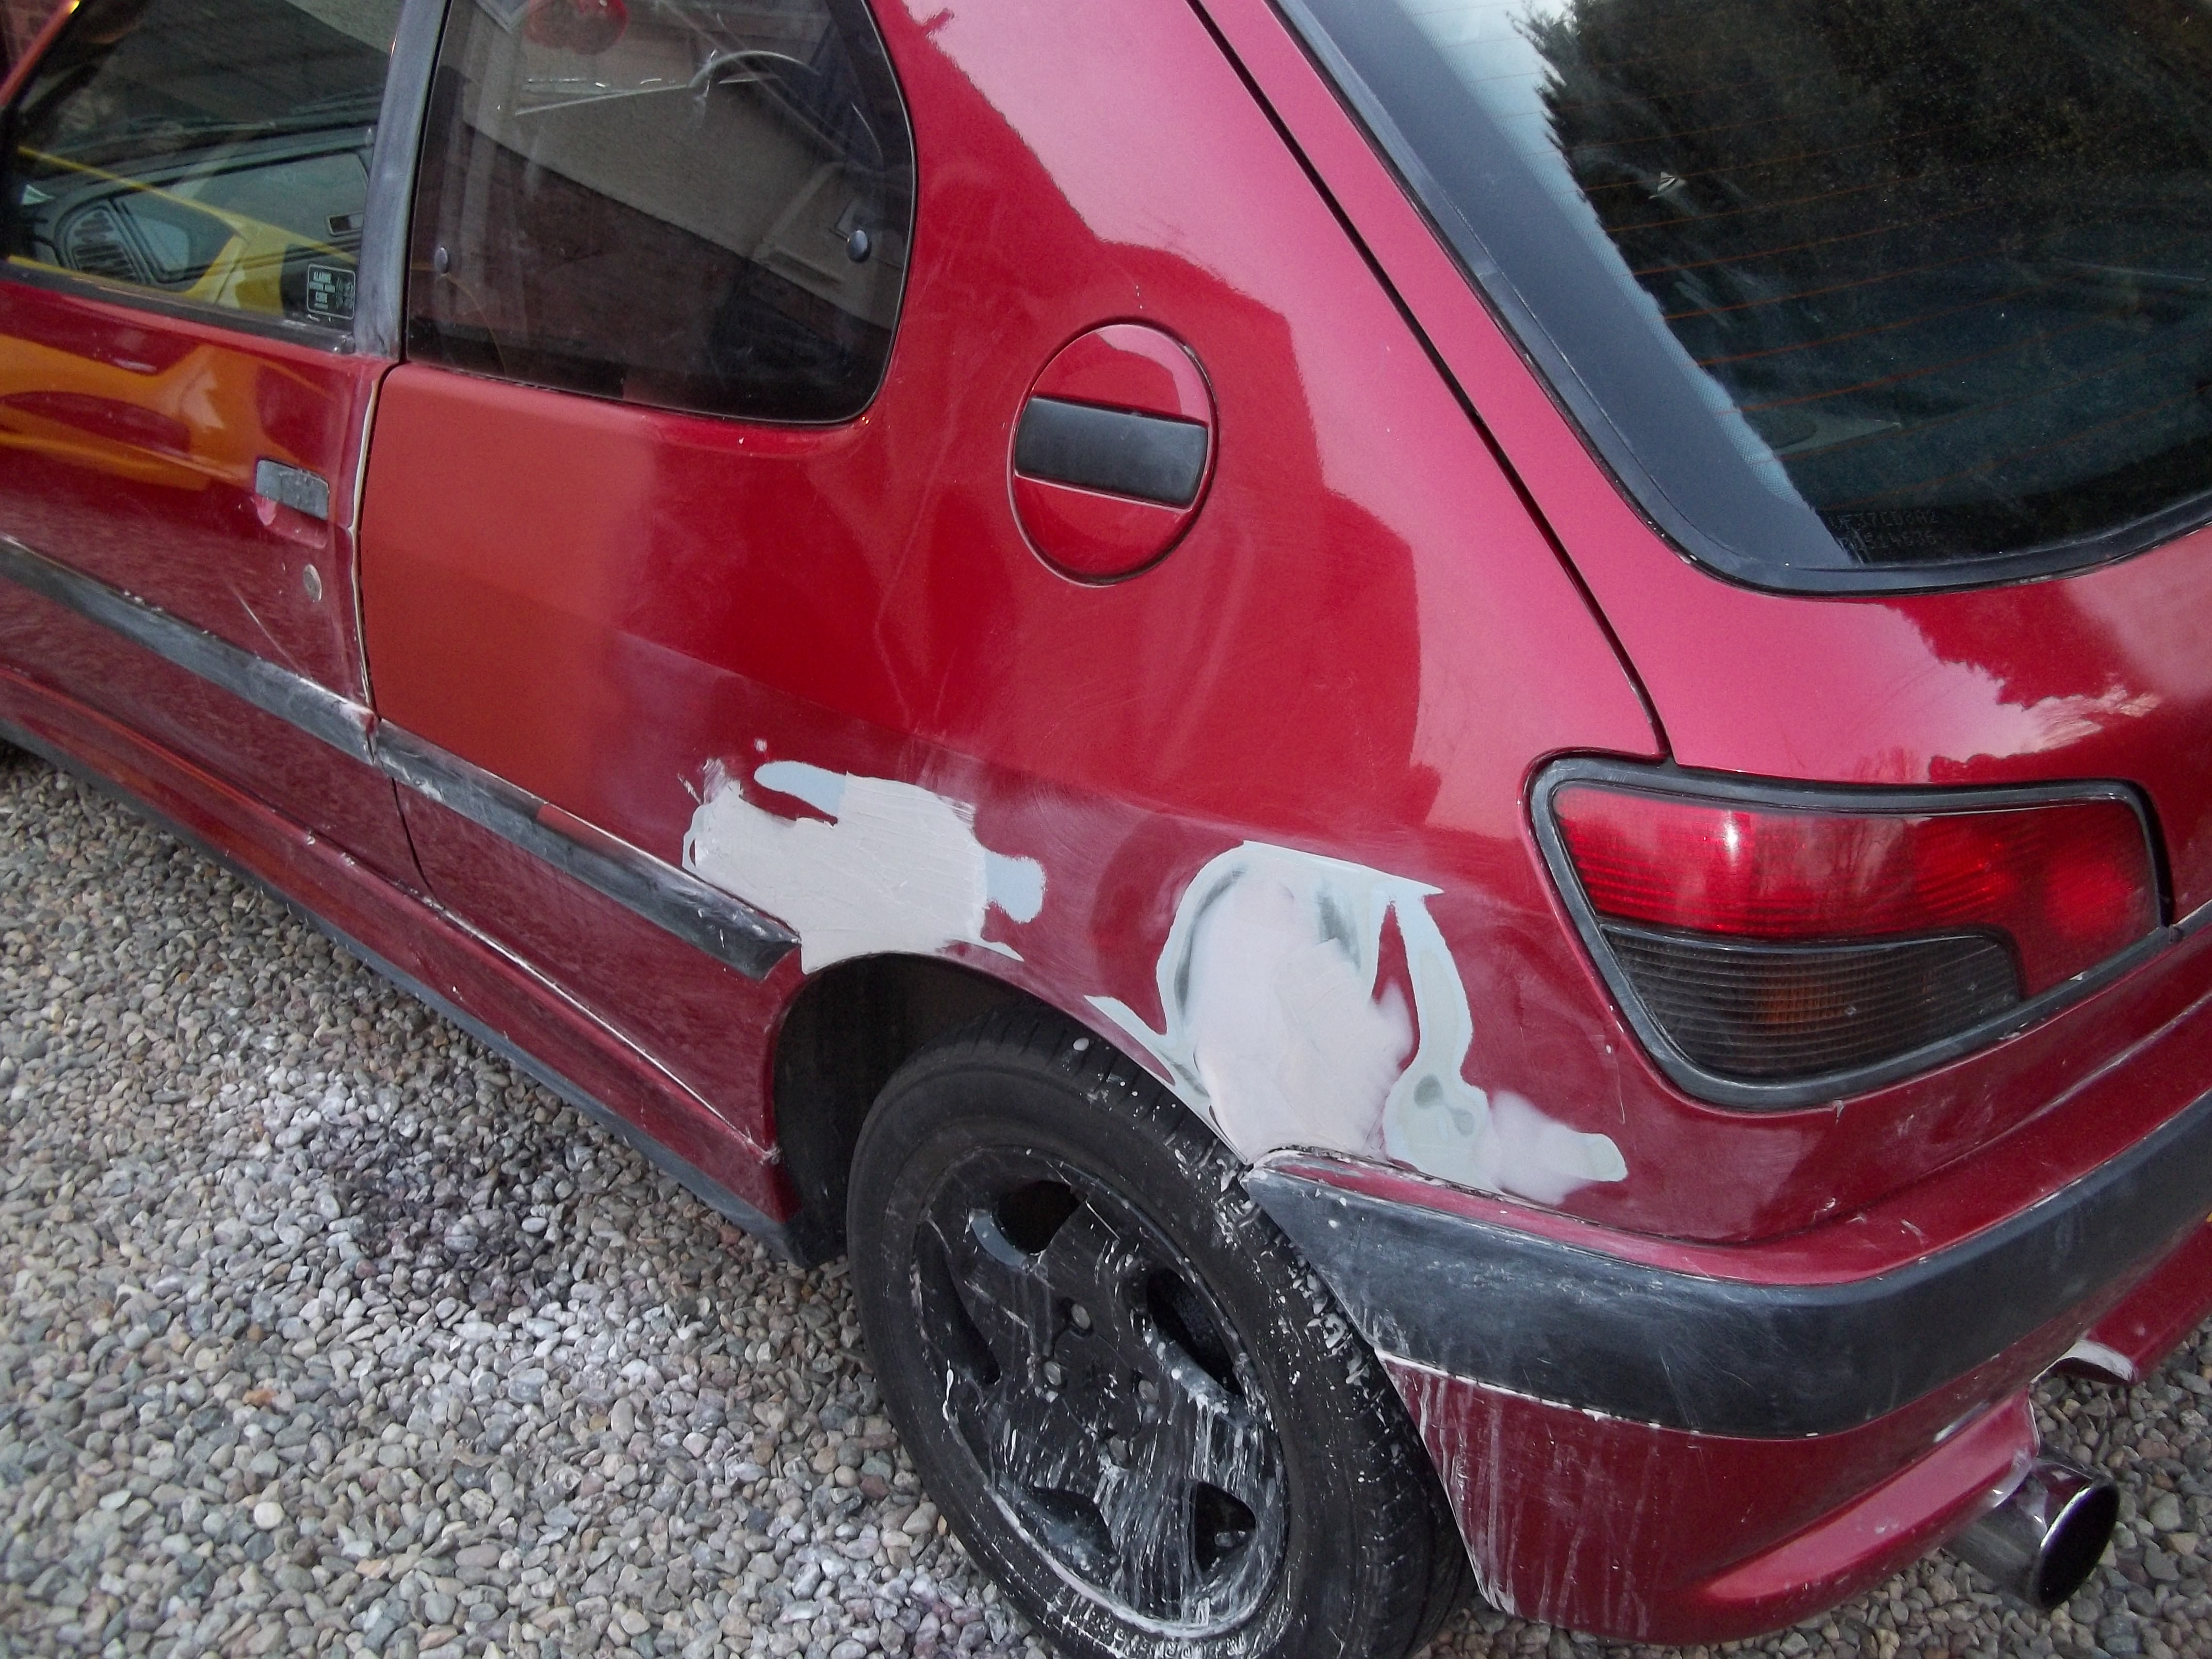
Typical rotten inner arch mount.
Also sanding that one down.
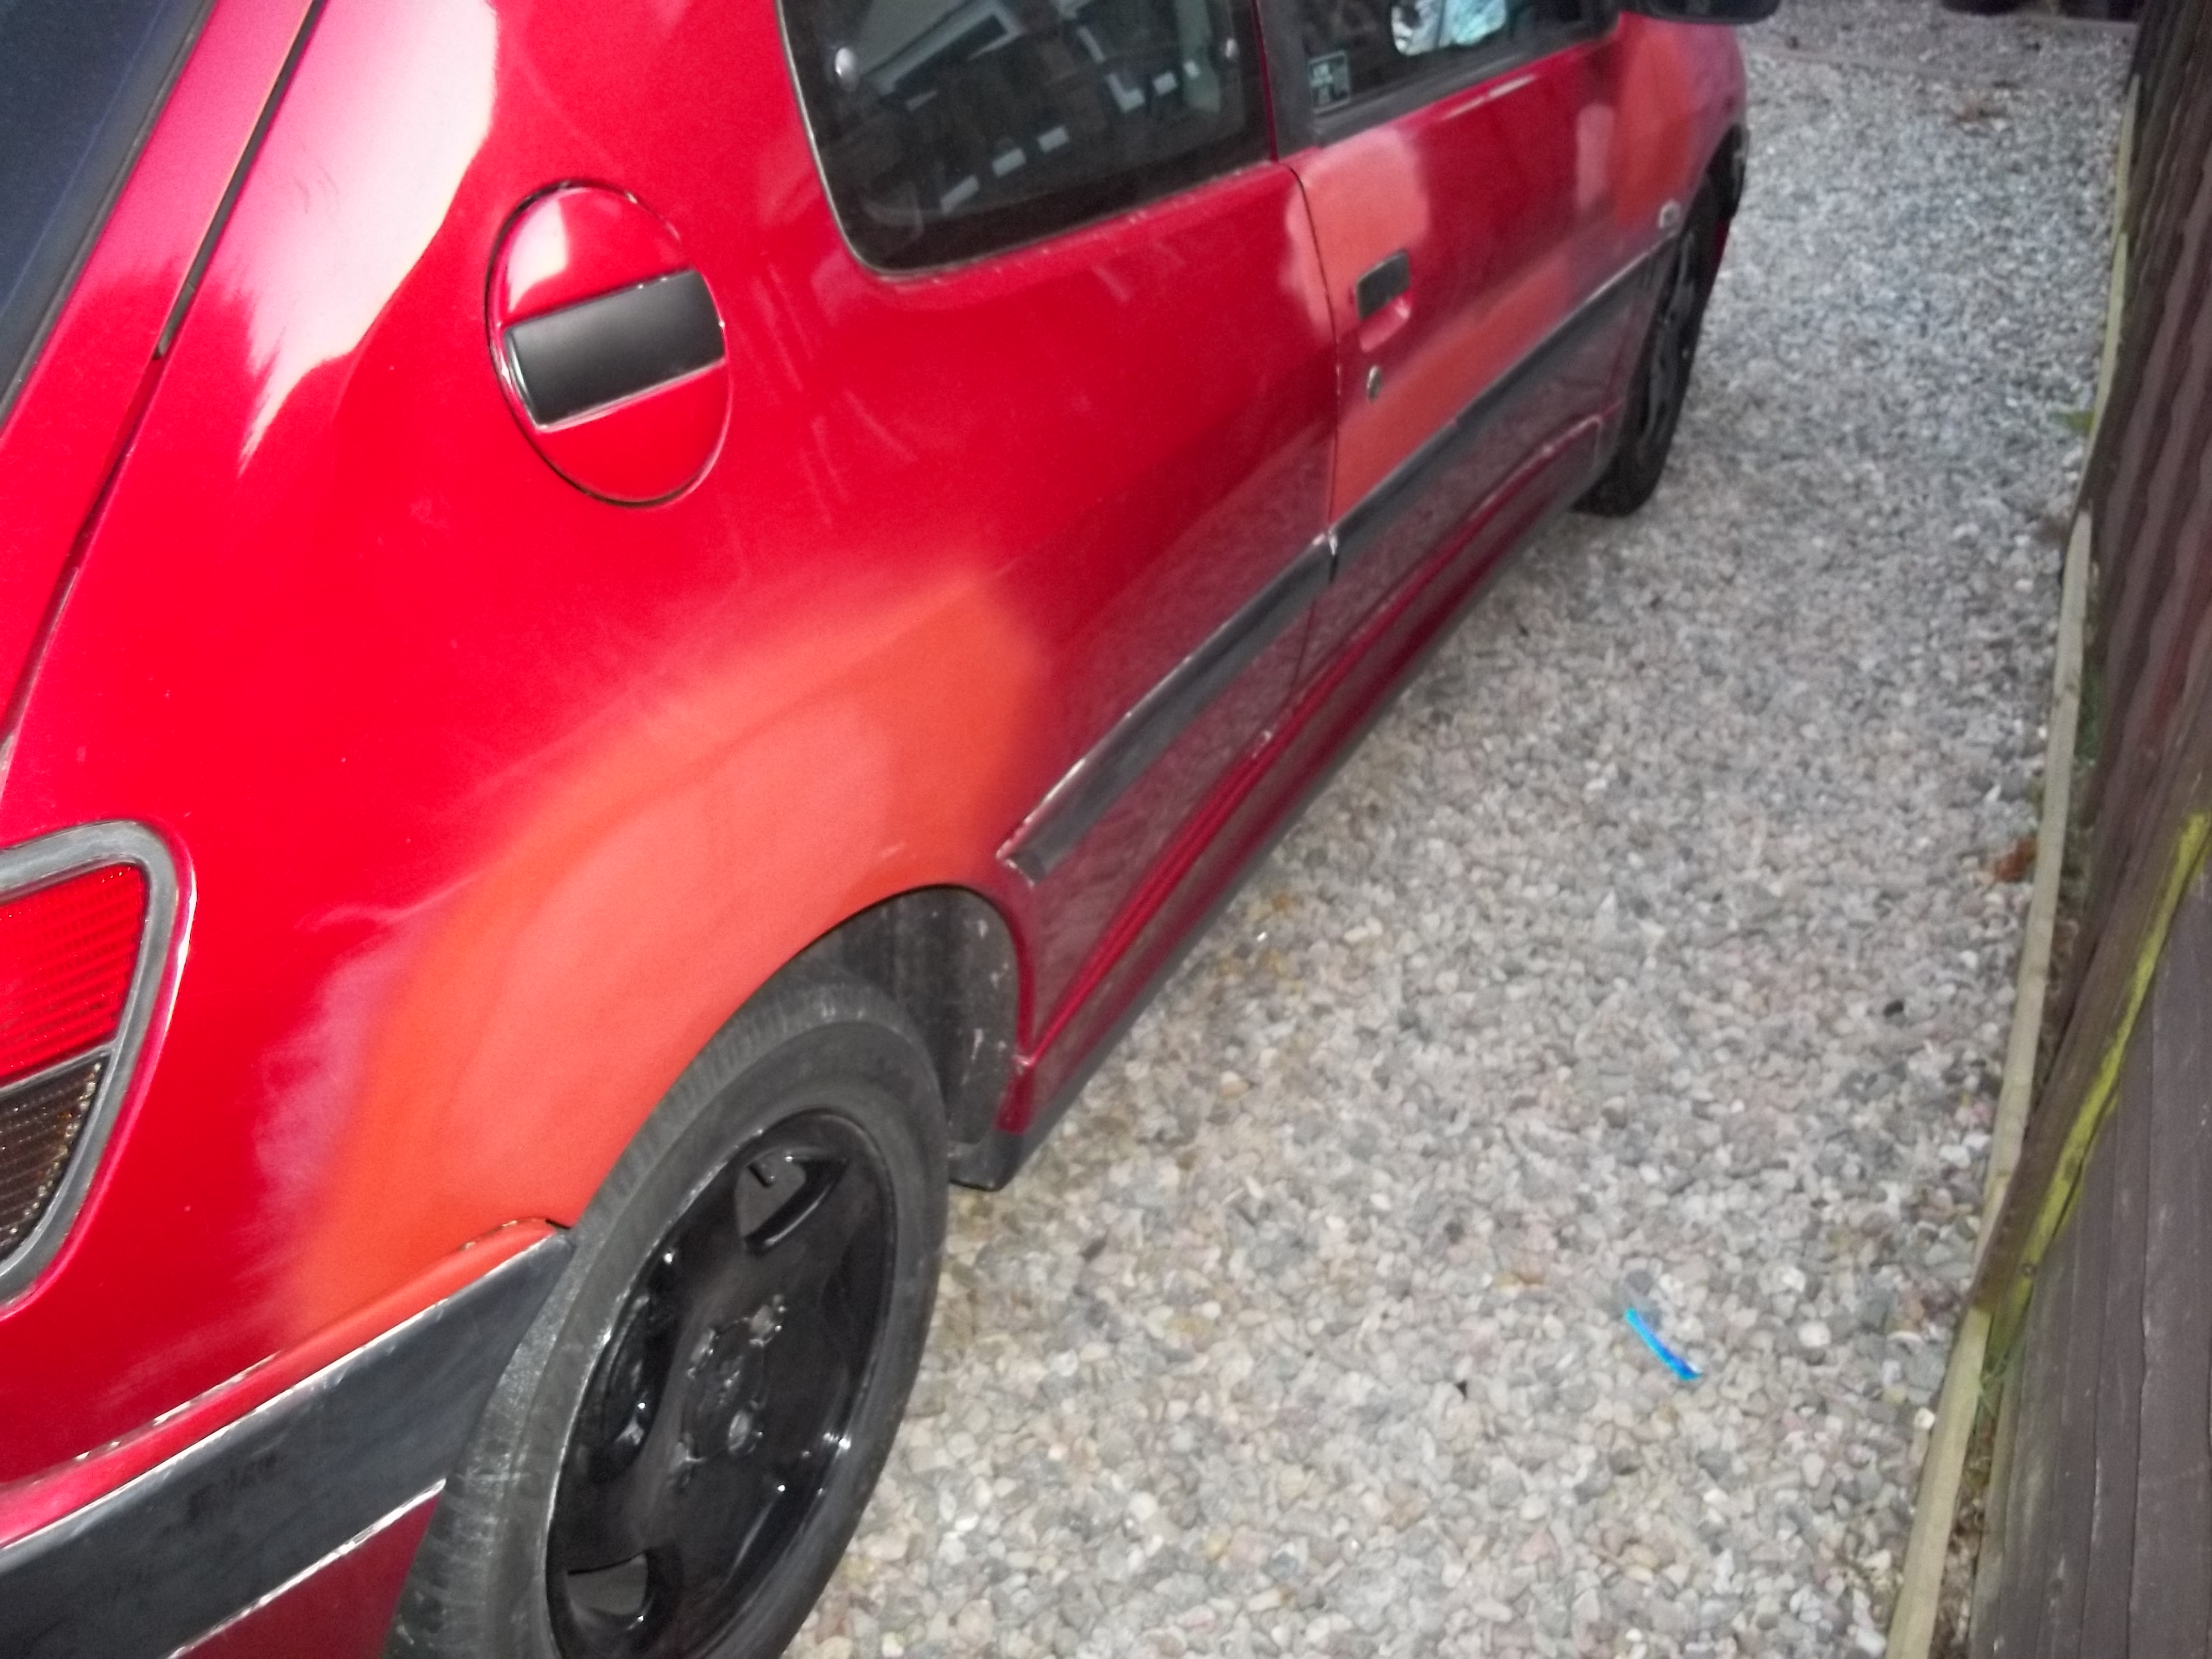
Anyway i ran out of time so i quickly put it back together and headed off. Mind the misses in the pictures. (She was in a happy mood for some reason)
![[Image: DSCF1770.jpg]](http://i1254.photobucket.com/albums/hh608/underground375/DSCF1770.jpg)
![[Image: DSCF1769.jpg]](http://i1254.photobucket.com/albums/hh608/underground375/DSCF1769.jpg)
|







![[Image: fe6eddc8-1731-4100-a5fe-1edb853a88b6_zpseeacf928.jpg]](http://i1236.photobucket.com/albums/ff441/big543/fe6eddc8-1731-4100-a5fe-1edb853a88b6_zpseeacf928.jpg)
![[Image: 2my3i1u.jpg]](http://i40.tinypic.com/2my3i1u.jpg)
![[Image: 2ic4q49.jpg]](http://i43.tinypic.com/2ic4q49.jpg)
![[Image: 2liarrb.jpg]](http://i40.tinypic.com/2liarrb.jpg)
![[Image: signature.png]](http://s22.postimg.org/cgh3ss11t/signature.png)

![[Image: 20A1806D-891D-40FB-BD52-AD519177A607-734...391753.jpg]](http://i35.photobucket.com/albums/d196/mattbush/20A1806D-891D-40FB-BD52-AD519177A607-7340-0000058F46391753.jpg)
![[Image: DSCF1522.jpg]](http://i1254.photobucket.com/albums/hh608/underground375/DSCF1522.jpg)
![[Image: DSCF1520.jpg]](http://i1254.photobucket.com/albums/hh608/underground375/DSCF1520.jpg)
![[Image: DSCF1518.jpg]](http://i1254.photobucket.com/albums/hh608/underground375/DSCF1518.jpg)
![[Image: DSCF1519.jpg]](http://i1254.photobucket.com/albums/hh608/underground375/DSCF1519.jpg)
![[Image: DSCF1524.jpg]](http://i1254.photobucket.com/albums/hh608/underground375/DSCF1524.jpg)
![[Image: DSCF1528.jpg]](http://i1254.photobucket.com/albums/hh608/underground375/DSCF1528.jpg)
![[Image: DSCF1533.jpg]](http://i1254.photobucket.com/albums/hh608/underground375/DSCF1533.jpg)
![[Image: DSCF1534.jpg]](http://i1254.photobucket.com/albums/hh608/underground375/DSCF1534.jpg)
![[Image: DSCF1527.jpg]](http://i1254.photobucket.com/albums/hh608/underground375/DSCF1527.jpg)
![[Image: DSCF1530.jpg]](http://i1254.photobucket.com/albums/hh608/underground375/DSCF1530.jpg)
![[Image: DSCF1531.jpg]](http://i1254.photobucket.com/albums/hh608/underground375/DSCF1531.jpg)
![[Image: DSCF1532.jpg]](http://i1254.photobucket.com/albums/hh608/underground375/DSCF1532.jpg)
![[Image: DSCF1721.jpg]](http://i1254.photobucket.com/albums/hh608/underground375/DSCF1721.jpg)
![[Image: DSCF1758.jpg]](http://i1254.photobucket.com/albums/hh608/underground375/DSCF1758.jpg)
![[Image: DSCF1759.jpg]](http://i1254.photobucket.com/albums/hh608/underground375/DSCF1759.jpg)
![[Image: DSCF1753.jpg]](http://i1254.photobucket.com/albums/hh608/underground375/DSCF1753.jpg)
![[Image: DSCF1755.jpg]](http://i1254.photobucket.com/albums/hh608/underground375/DSCF1755.jpg)
![[Image: DSCF1754.jpg]](http://i1254.photobucket.com/albums/hh608/underground375/DSCF1754.jpg)
![[Image: DSCF1756.jpg]](http://i1254.photobucket.com/albums/hh608/underground375/DSCF1756.jpg)
![[Image: DSCF1765.jpg]](http://i1254.photobucket.com/albums/hh608/underground375/DSCF1765.jpg)
![[Image: DSCF1764.jpg]](http://i1254.photobucket.com/albums/hh608/underground375/DSCF1764.jpg)
![[Image: DSCF1762.jpg]](http://i1254.photobucket.com/albums/hh608/underground375/DSCF1762.jpg)
![[Image: DSCF1763.jpg]](http://i1254.photobucket.com/albums/hh608/underground375/DSCF1763.jpg)
![[Image: DSCF1760.jpg]](http://i1254.photobucket.com/albums/hh608/underground375/DSCF1760.jpg)
![[Image: DSCF1761.jpg]](http://i1254.photobucket.com/albums/hh608/underground375/DSCF1761.jpg)
![[Image: DSCF1766.jpg]](http://i1254.photobucket.com/albums/hh608/underground375/DSCF1766.jpg)
![[Image: DSCF1768.jpg]](http://i1254.photobucket.com/albums/hh608/underground375/DSCF1768.jpg)
![[Image: DSCF1767.jpg]](http://i1254.photobucket.com/albums/hh608/underground375/DSCF1767.jpg)
![[Image: DSCF1770.jpg]](http://i1254.photobucket.com/albums/hh608/underground375/DSCF1770.jpg)
![[Image: DSCF1769.jpg]](http://i1254.photobucket.com/albums/hh608/underground375/DSCF1769.jpg)